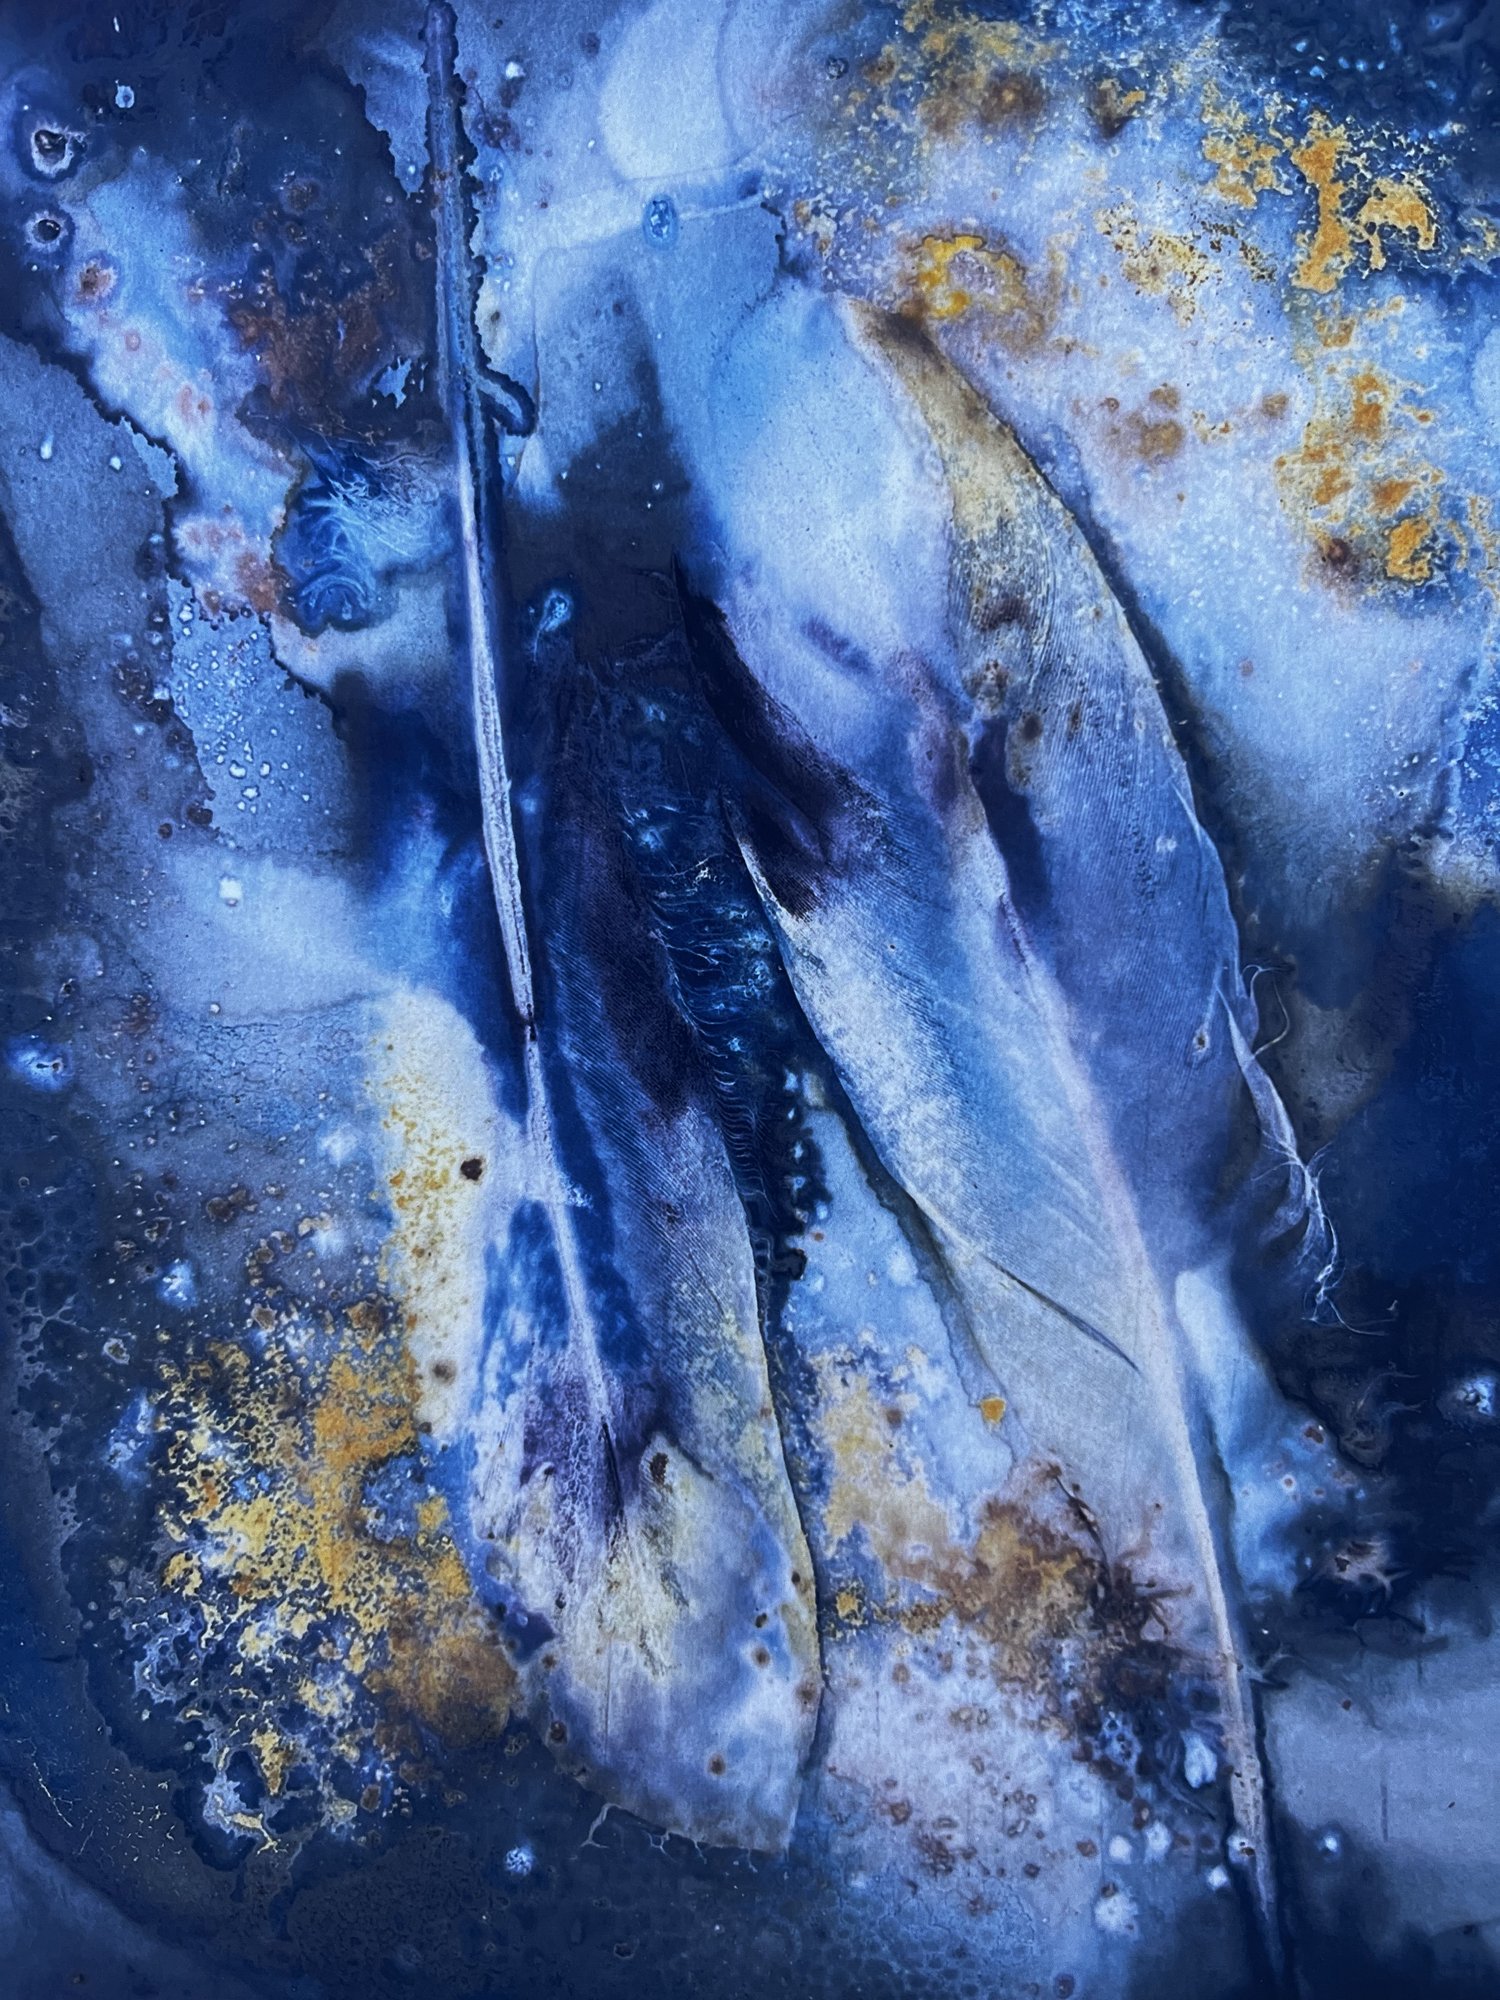
Cyanotype Precoated Paper & Fabric kits - mini how to
How to make Cyanotypes with pre-coated papers or fabrics:
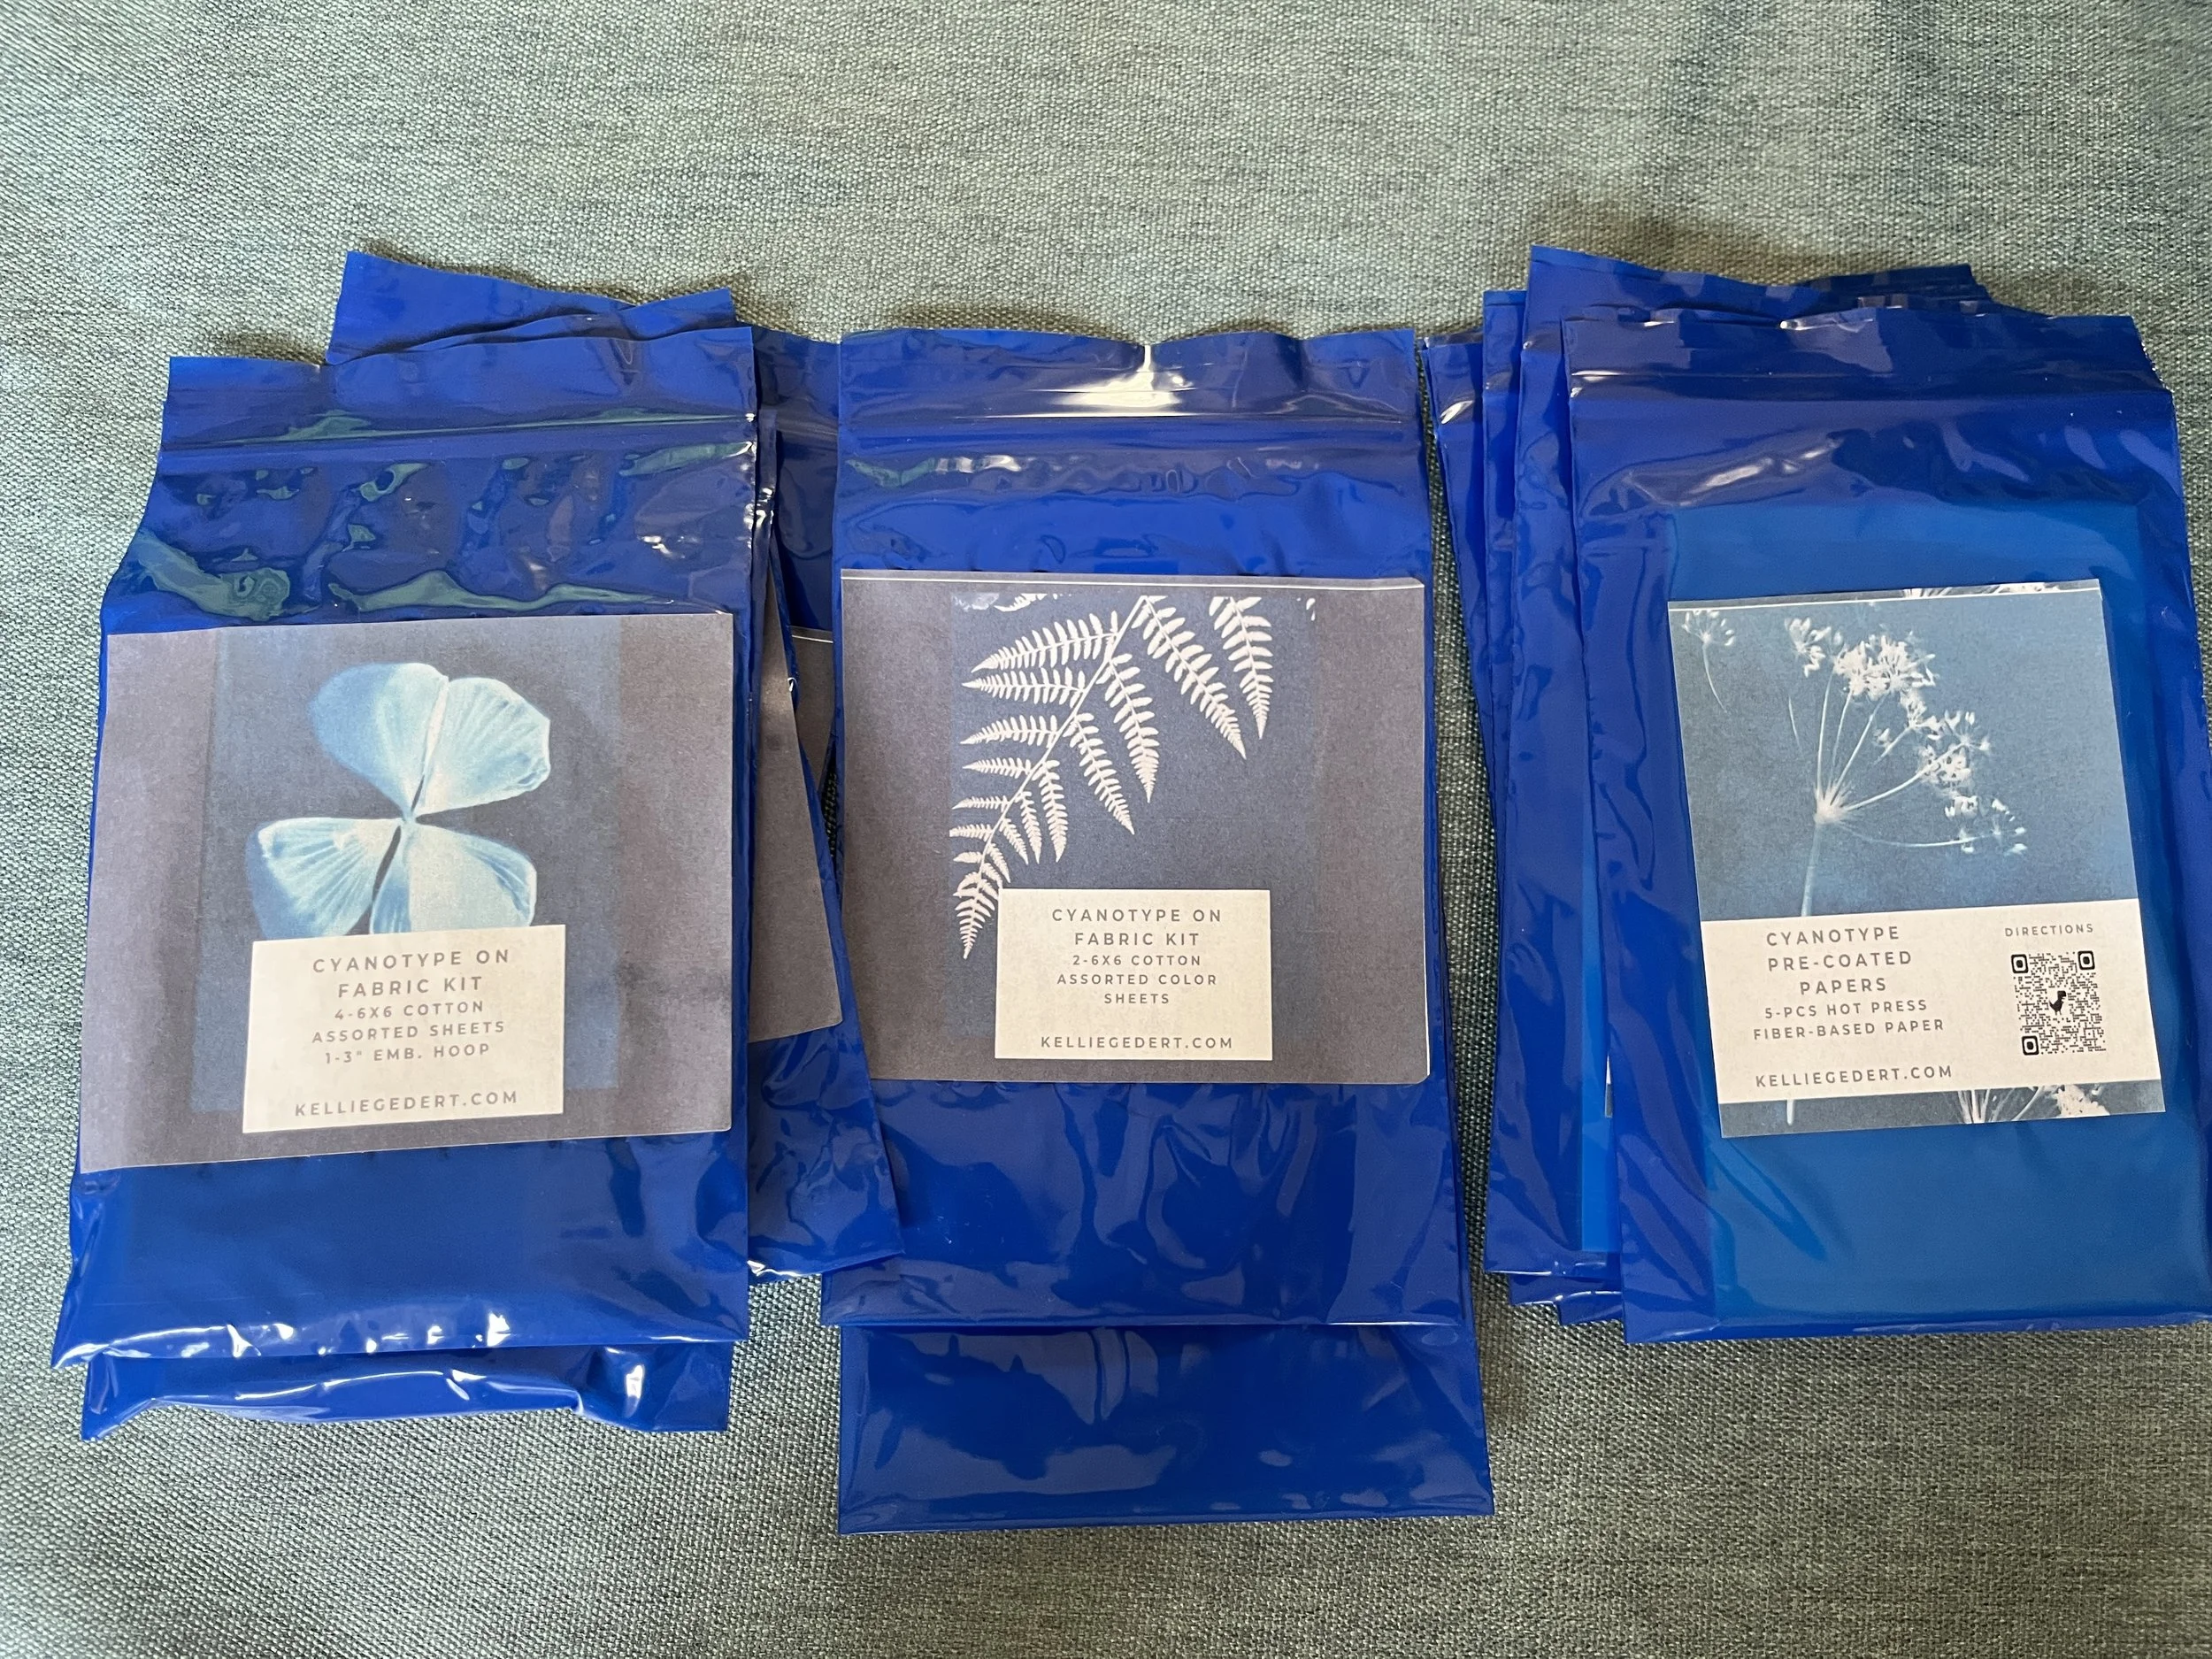
You got a BlueCyanGirl Cyanotype Paper or Fabric kit.
Now what? First, How exciting!
Warning: Remember these are light-sensitive, so leave them in the light-safe bag until you have reviewed the notes and are (really) ready to jump in.
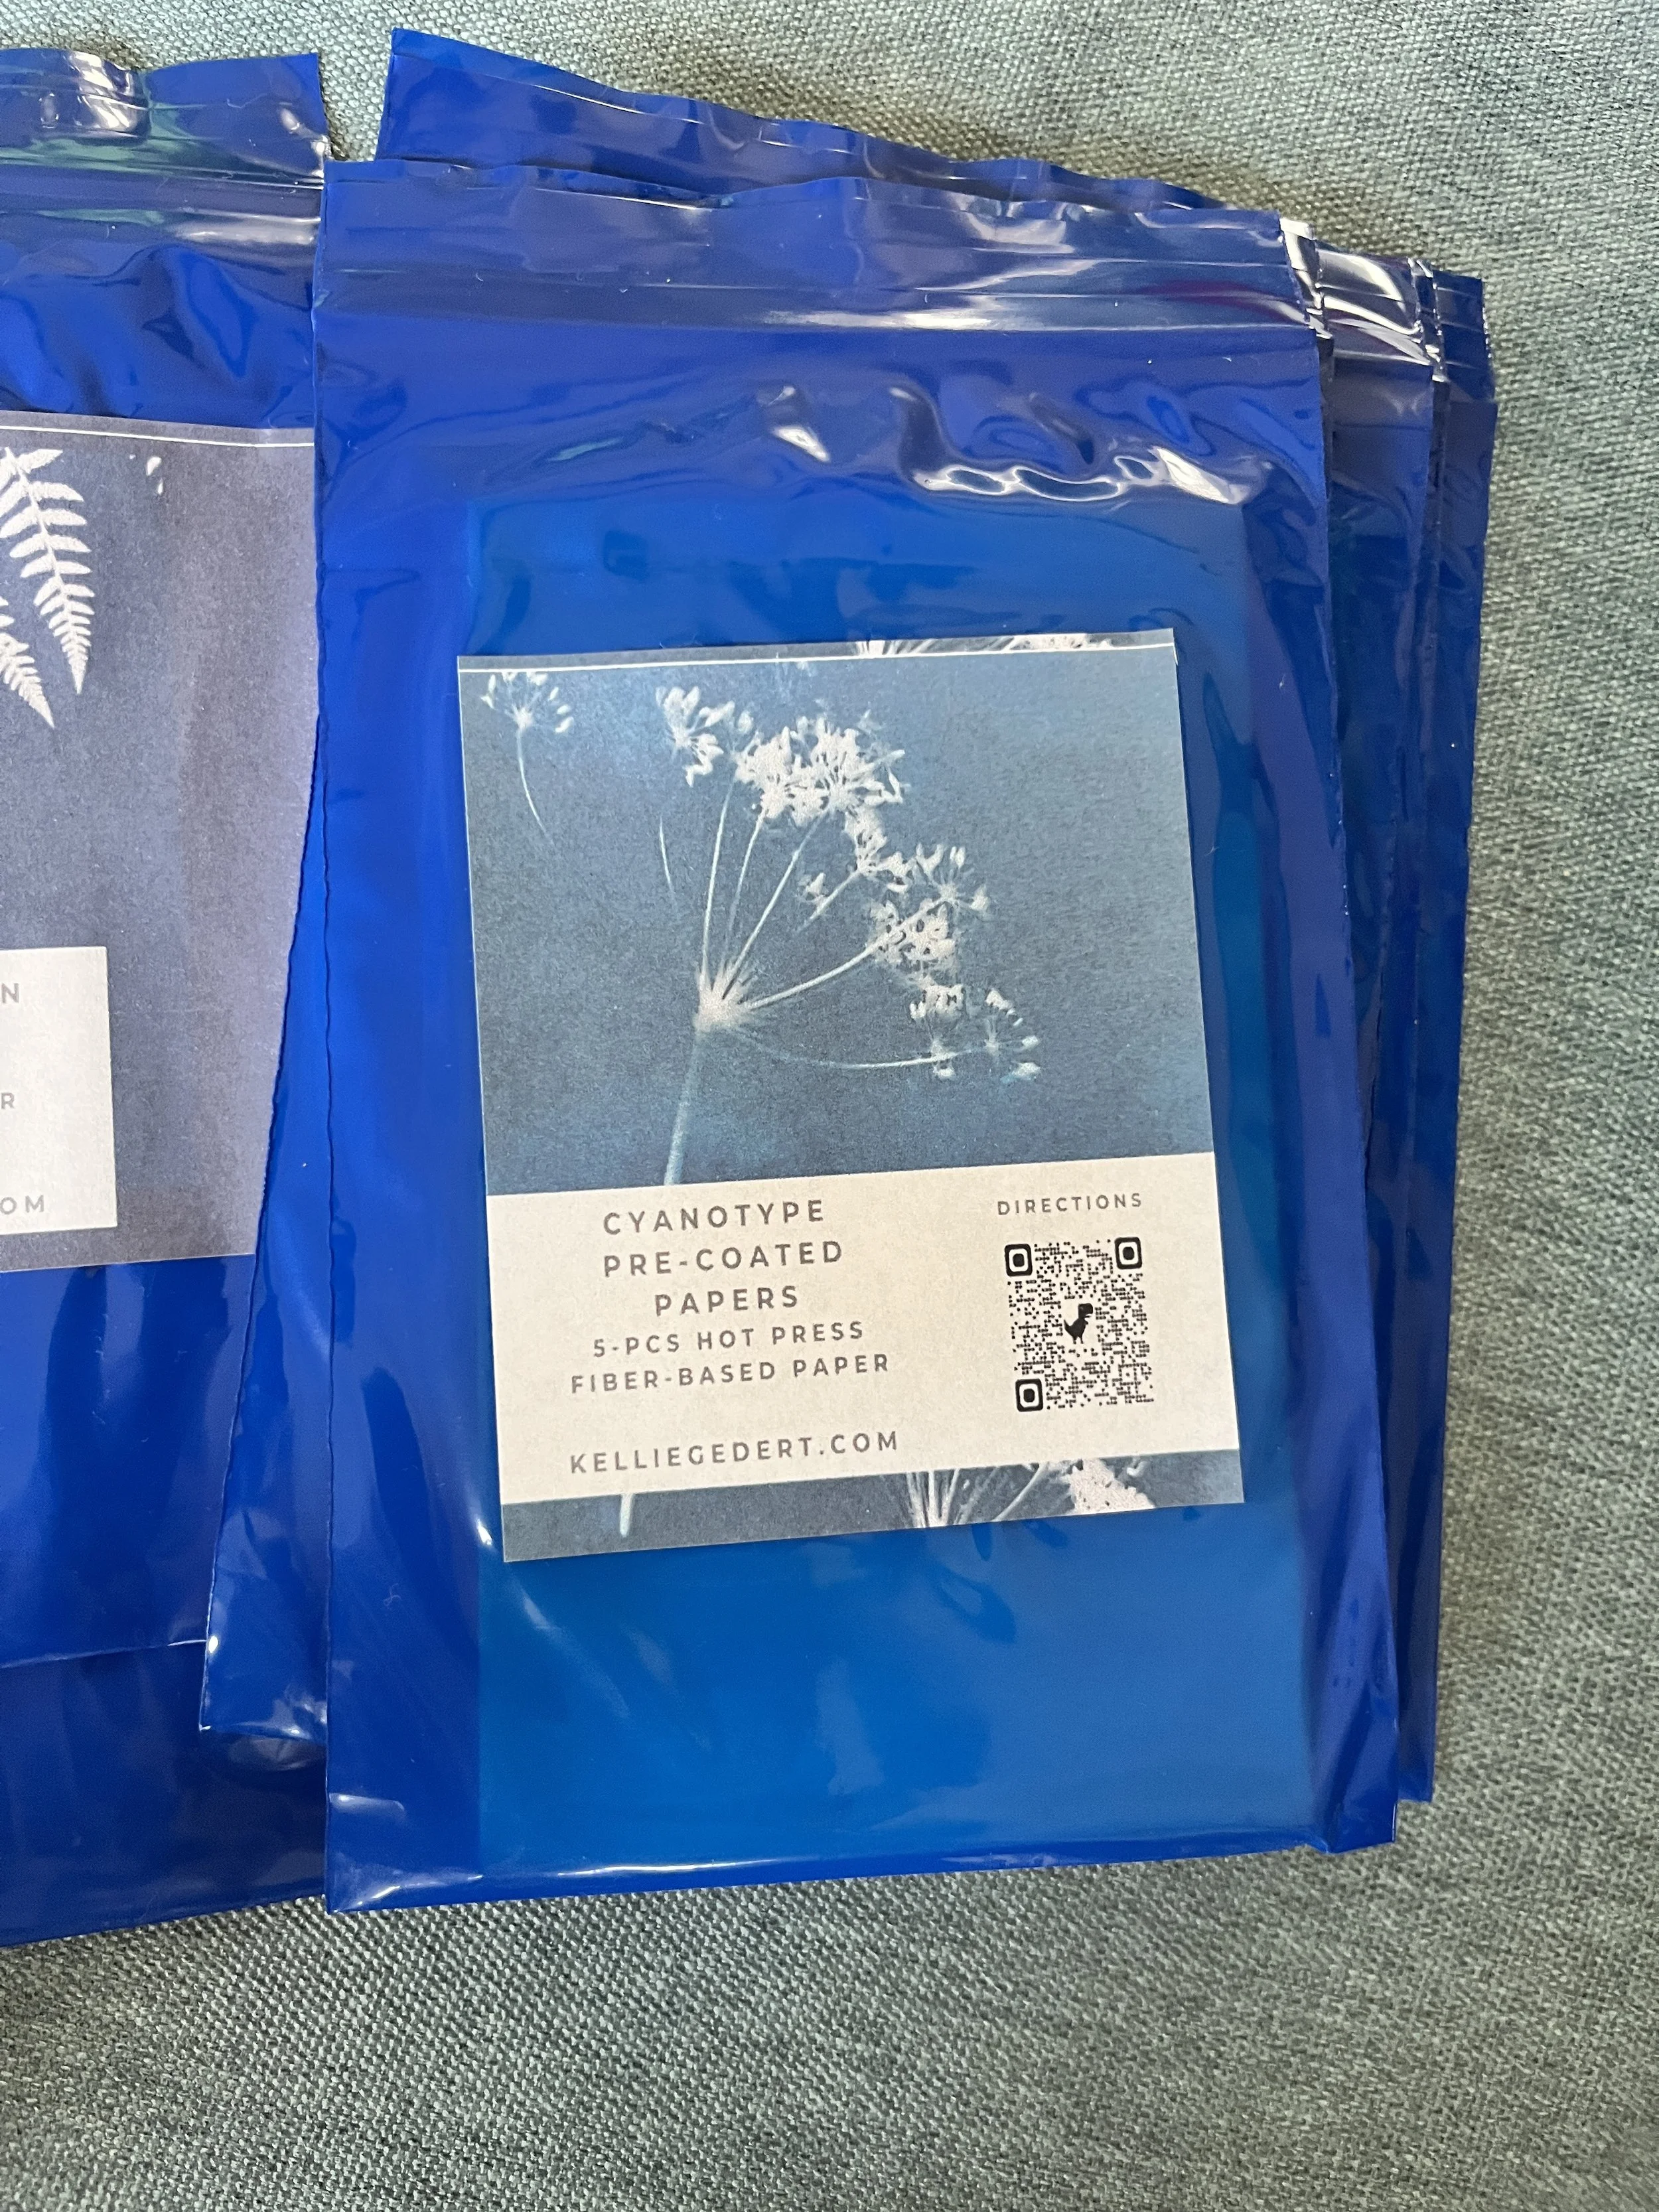
What You Need:
List:
BlueCyangirl Pre-treated cyanotype (or sunprint) paper or fabric kit
Flat objects (leaves, pressed flowers, feathers, stencils, or lace)
A piece of cardboard and a clear acrylic sheet or glass (to hold items flat)
a space with no light or indirect light
The Sun (preferably a sunny day from 10am-3pm)
A shallow tray or basin filled with plain water (about 3”+ deep)
Step-by-Step Instructions
Set up indoors: Work away from direct sunlight or bright windows so your paper does not accidentally expose early.
Arrange your design: Lay your cyanotype paper greenish side up on top of your cardboard. Place your objects flat onto the greenish paper.
Secure the layout: Place the clear acrylic sheet or glass directly over the objects to press them firmly against the paper. Now you have 3 layers secured.
Expose to the sun: Take the clamped or flat board outside into direct sunlight. Let it sit for 1 to 5 minutes. (late in the day or cloudy days will need more minutes of exposure) Watch for the paper to turn a pale greenish-blue or bronze shade.
Note: timing and coloration will depend on the weather, exposure time, and other elements. Leave your future self notes on timing and weather.
Most of all: Have fun, leave yourself notes along the way, and experiment!
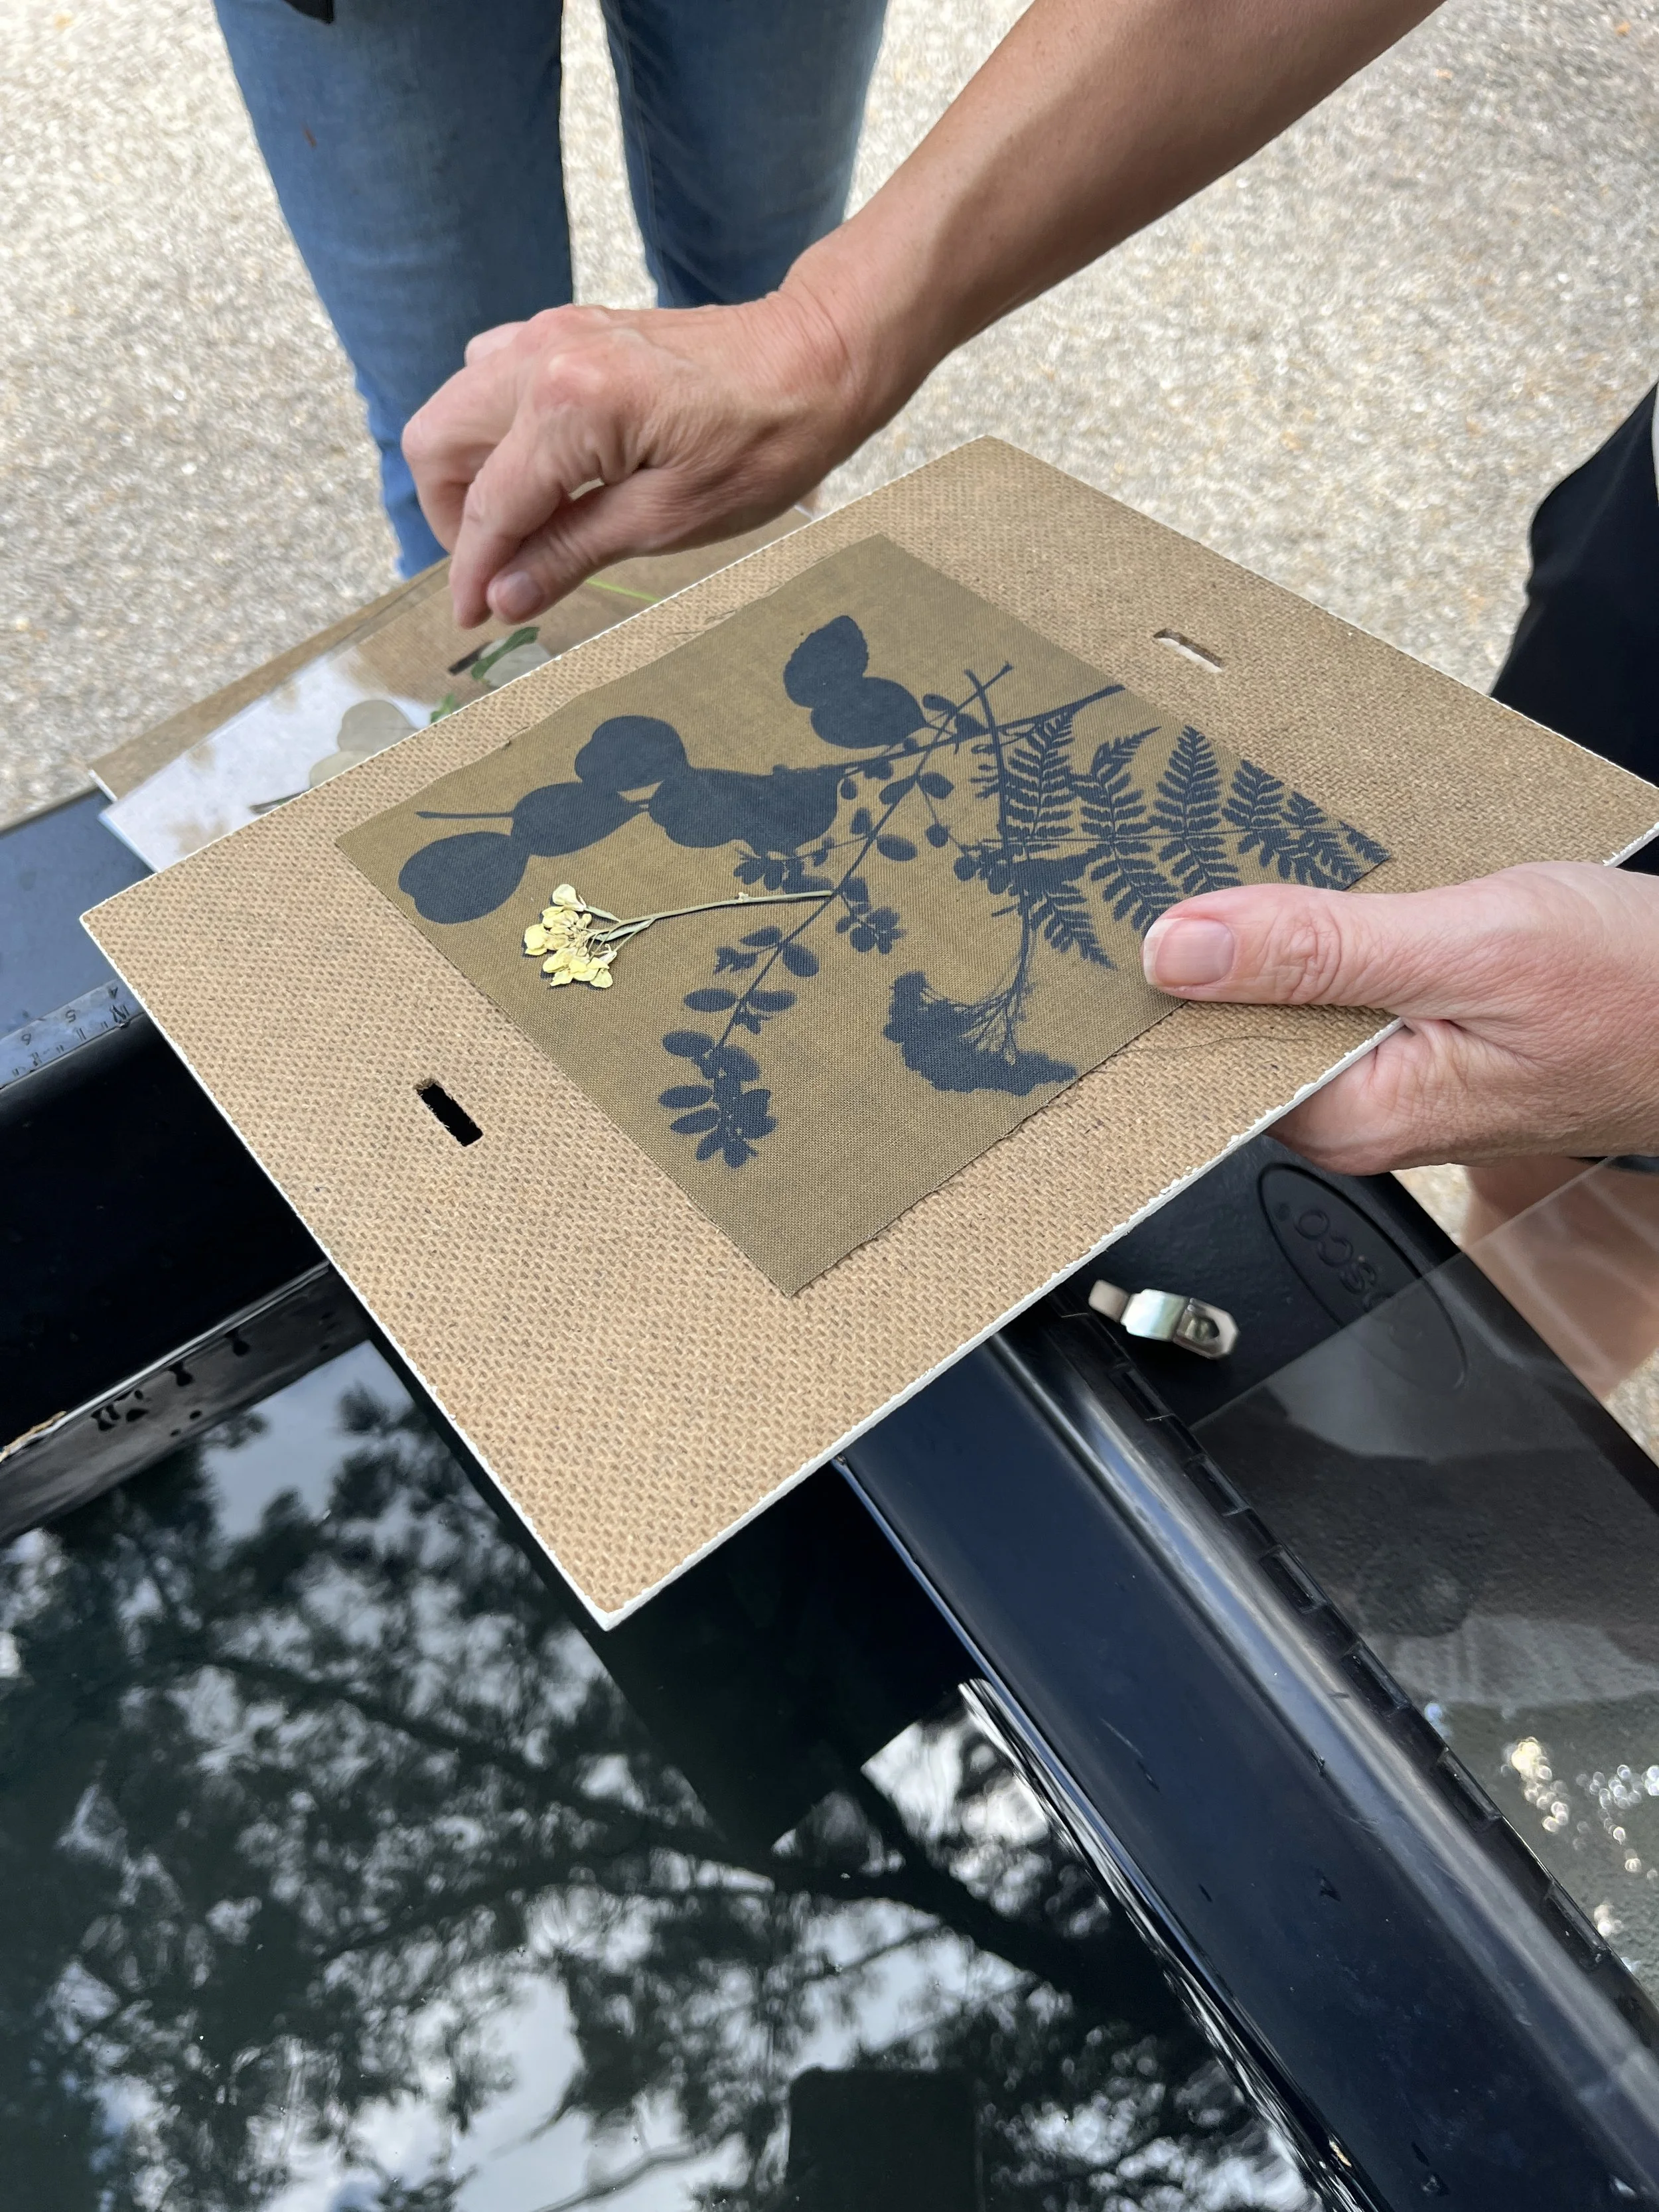
Cyanotype fabric before the rinse. This is a good example of the pale greenish-blue or bronze shade you are looking for BEFORE the rinse.
