UV Light Box Set up Secrets - Large Bin
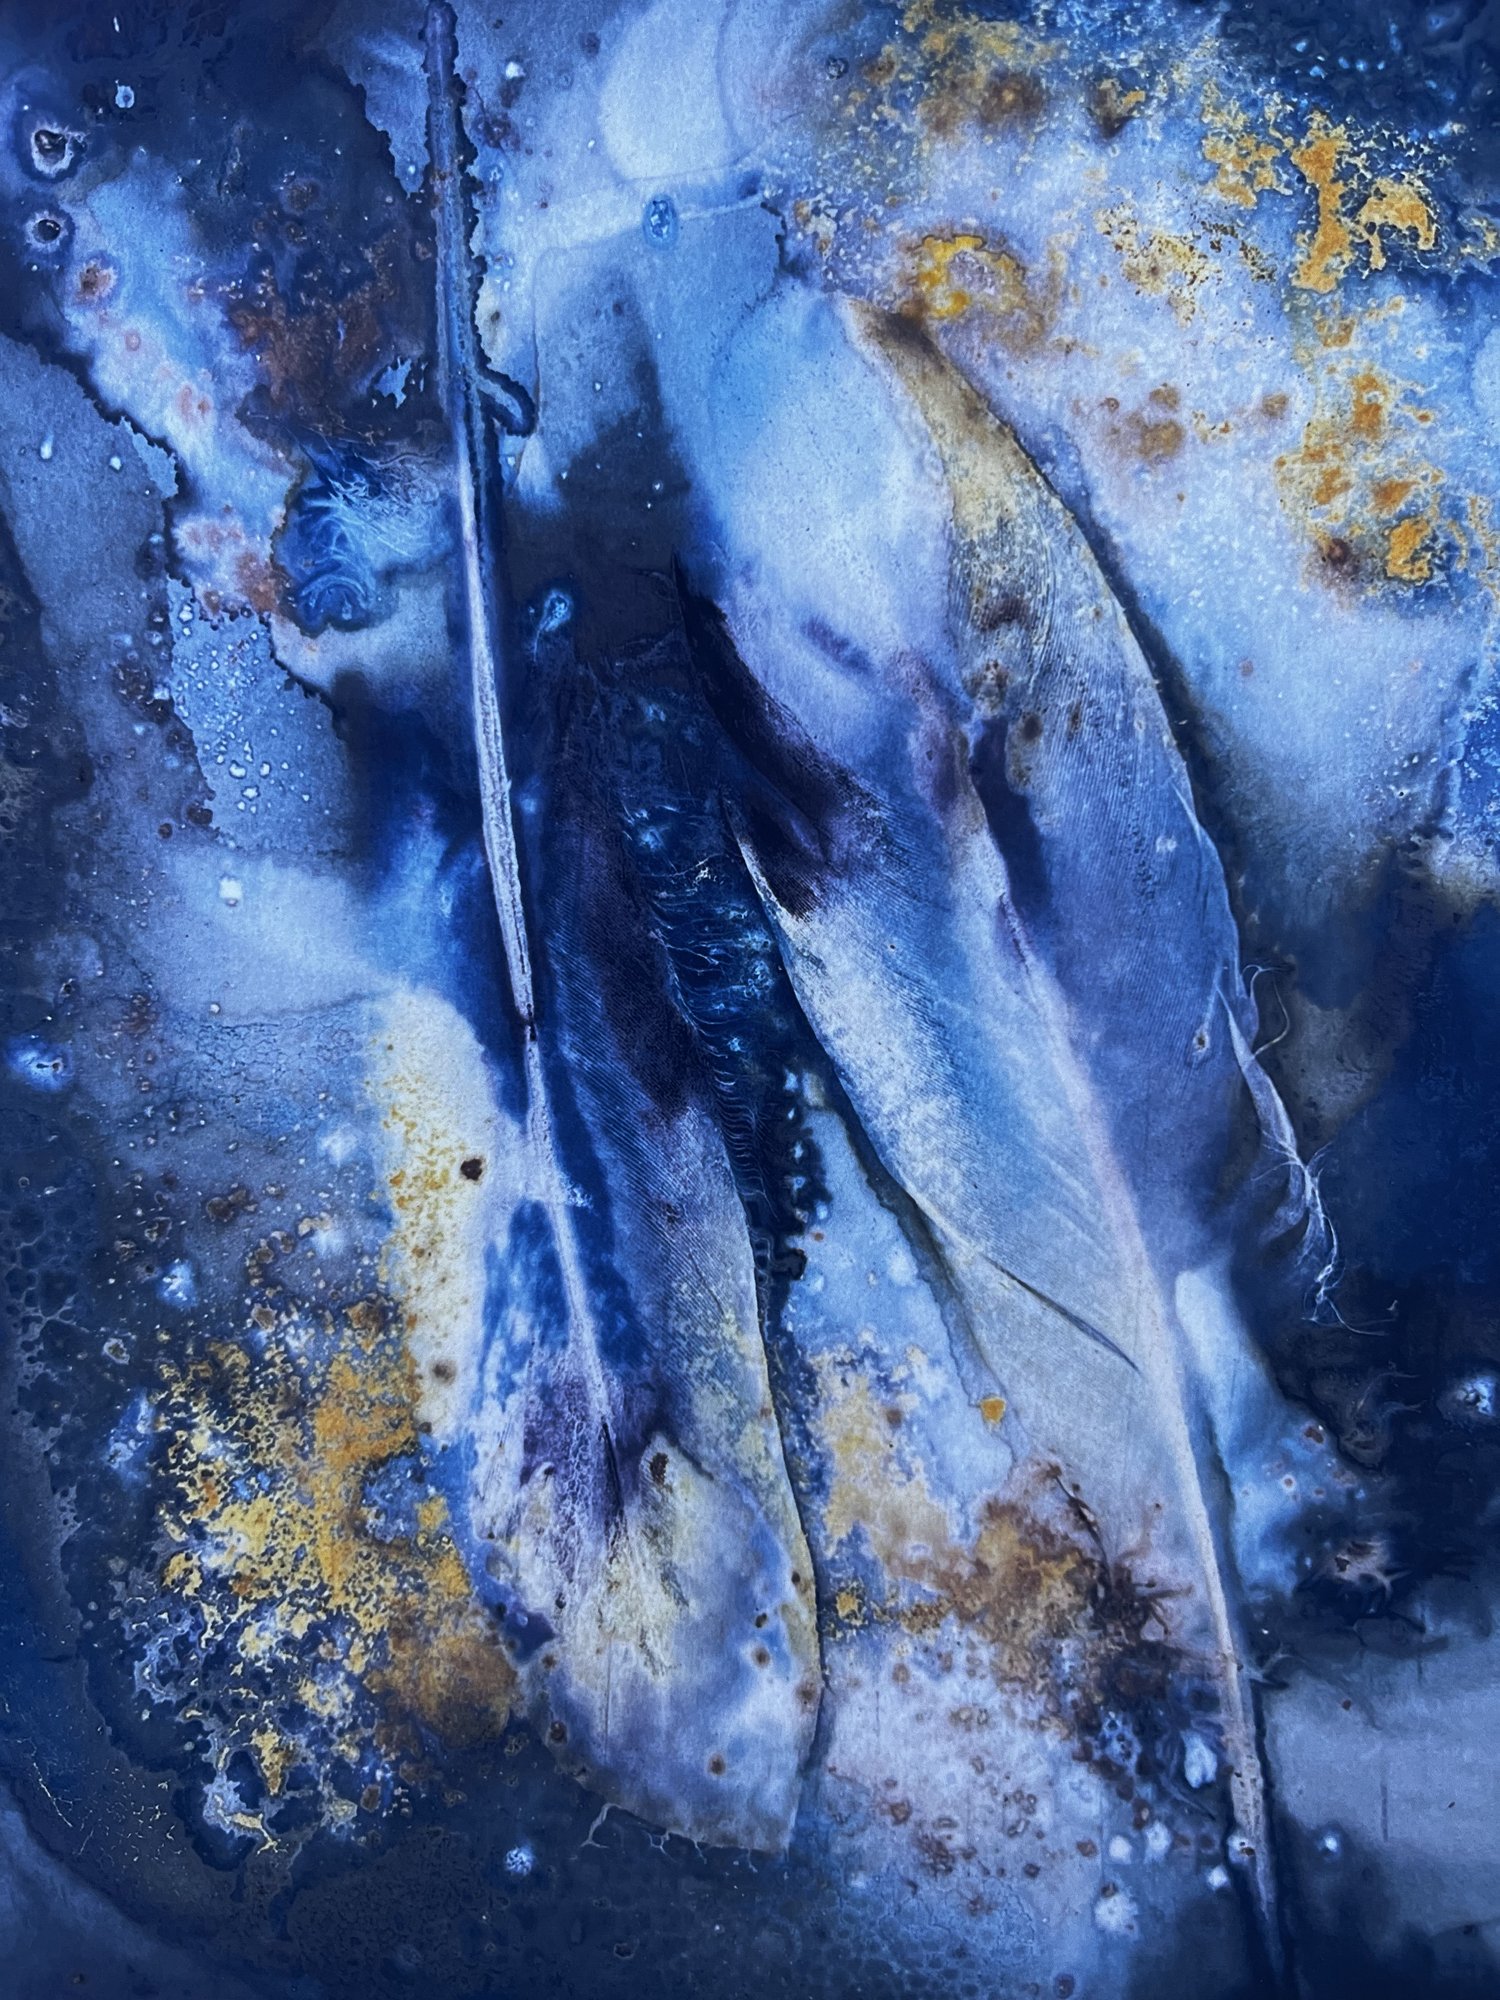
When I teach workshops and classes throughout the year, I've learned to rely on UV light instead of sunlight. In Ohio, I have spent a lot of time seeking the right light to create cyanotypes, which can be a part-time job in itself. You can easily make a UV light box using a cardboard box, but I wanted something more durable.
Find Small Bin Directions here
Here’s a brief description of what I built and what works for me!
Here is a list of supplies I used:
Ikea Large Bin SOCKERBIT
Sharpie
box cutter or sharp Xacto knife
Cutting mat
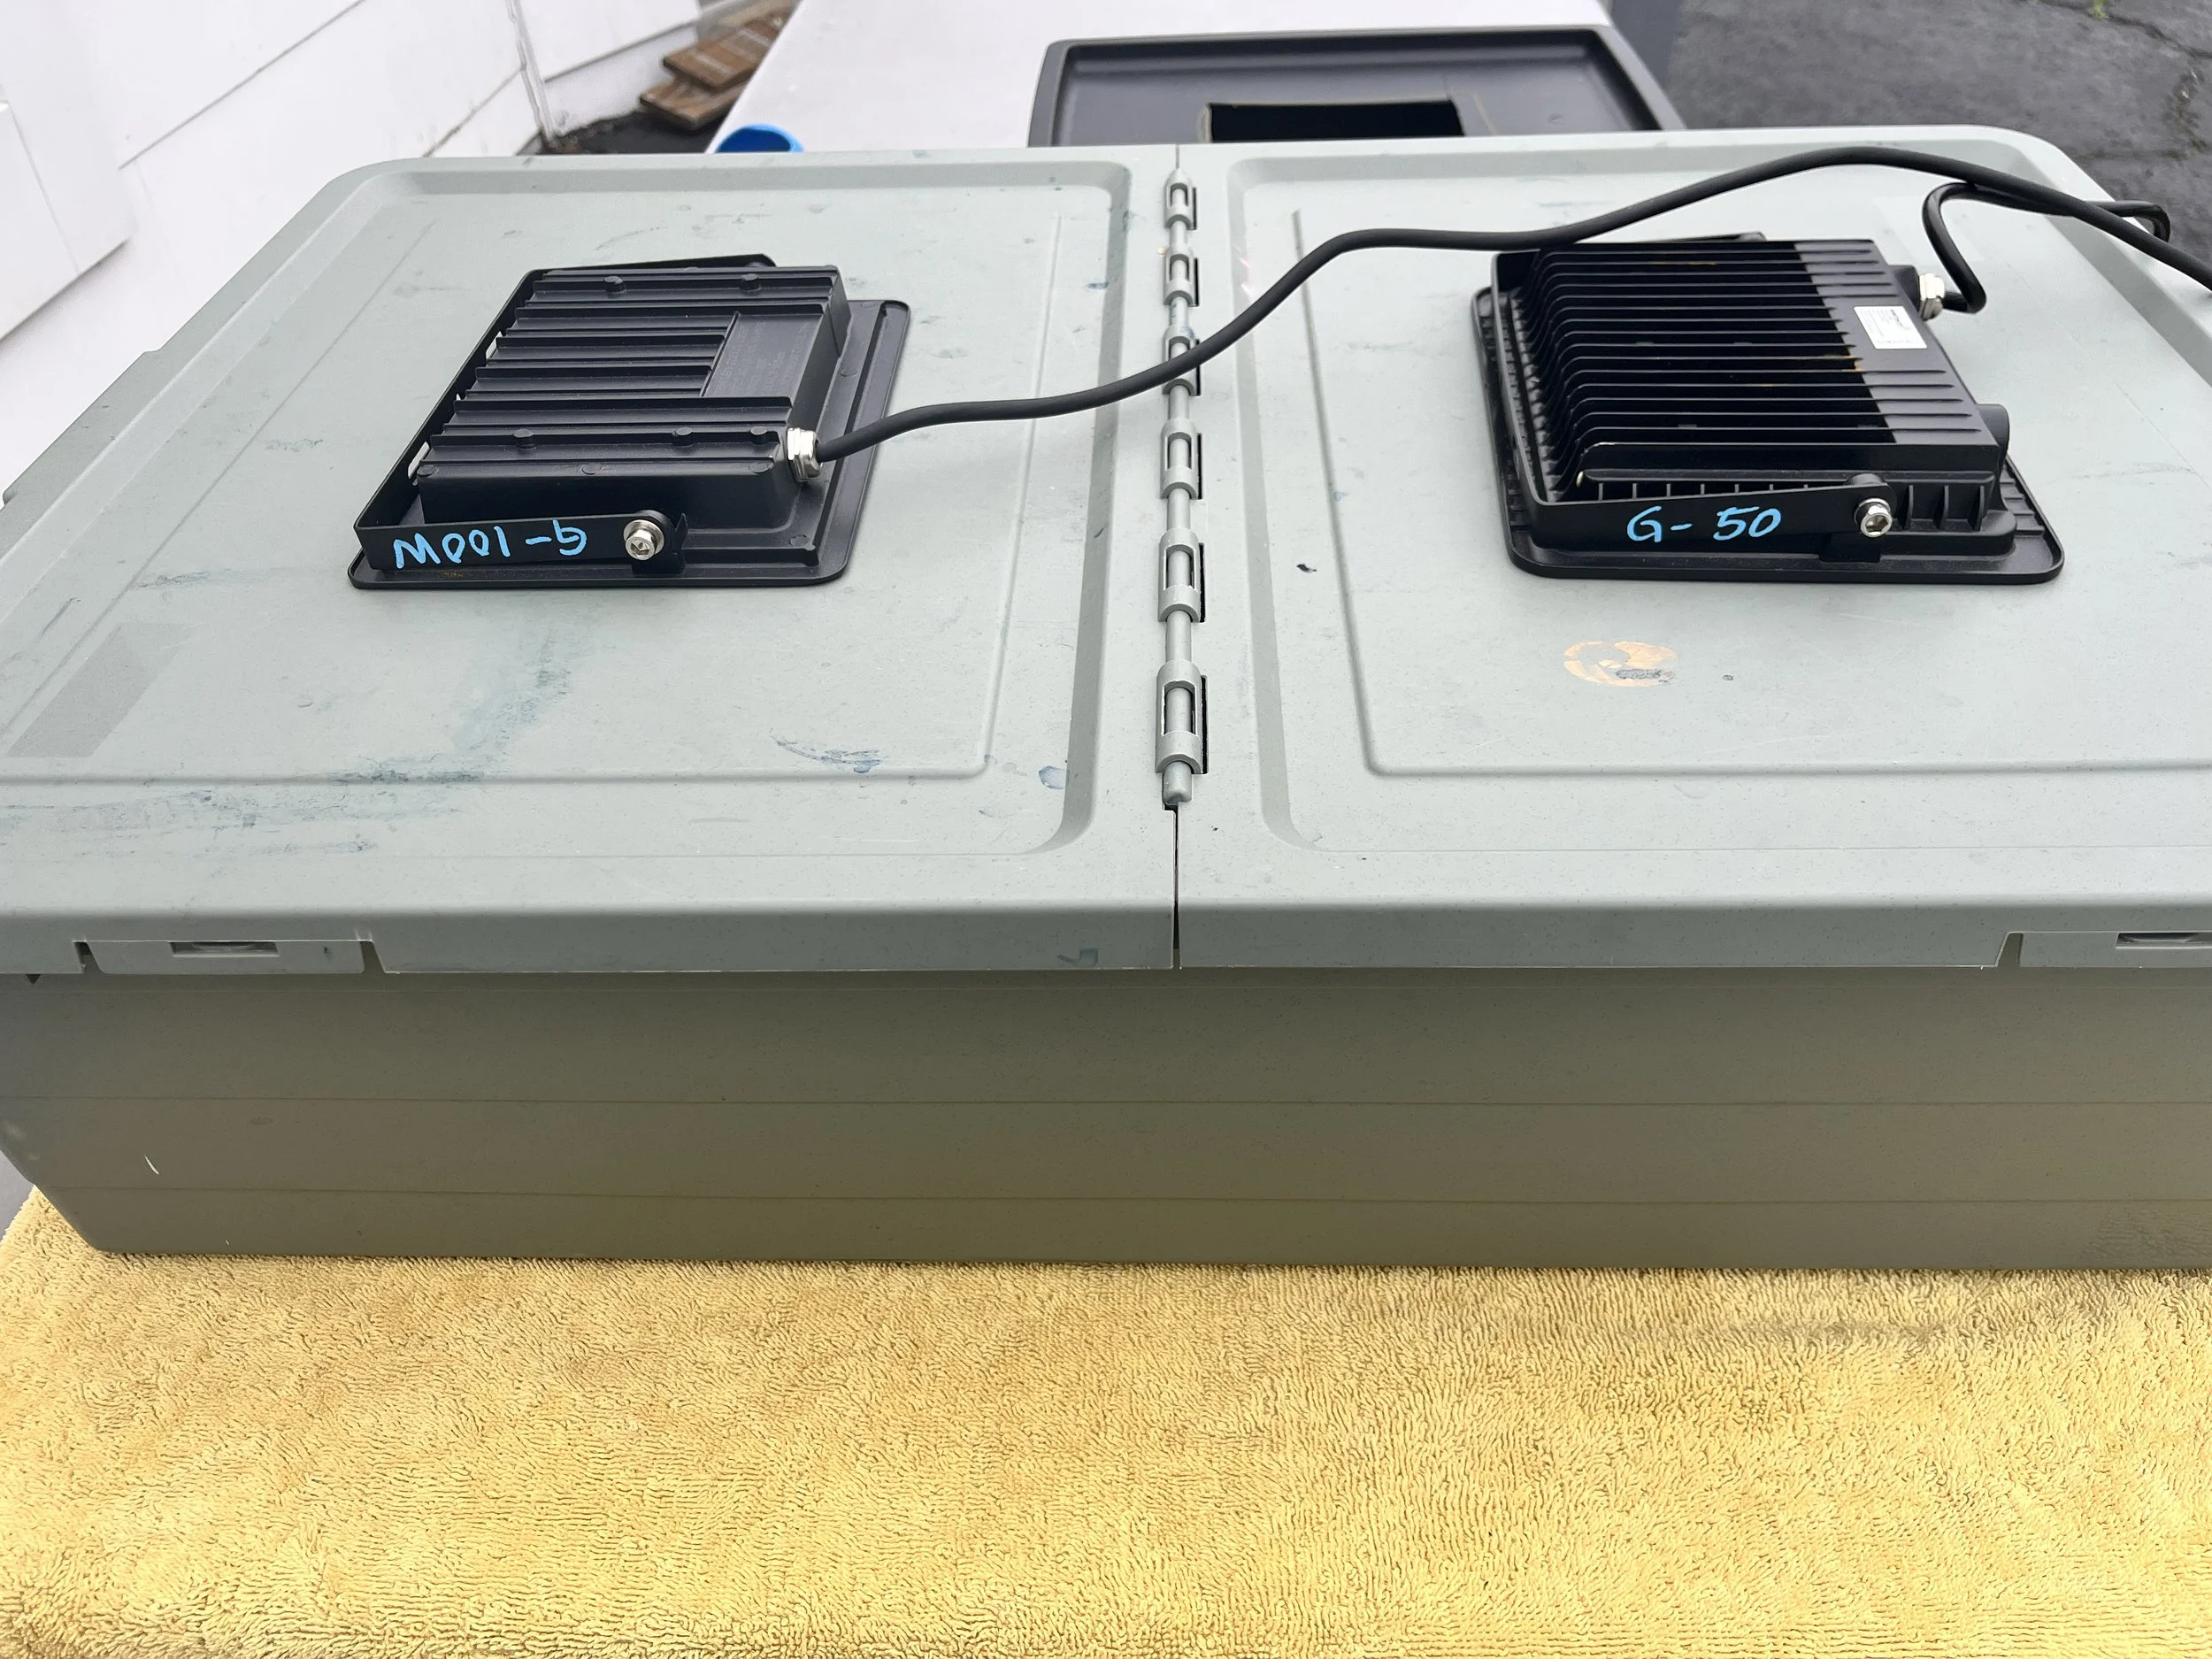
pardon the mess - This after 3 years of use!
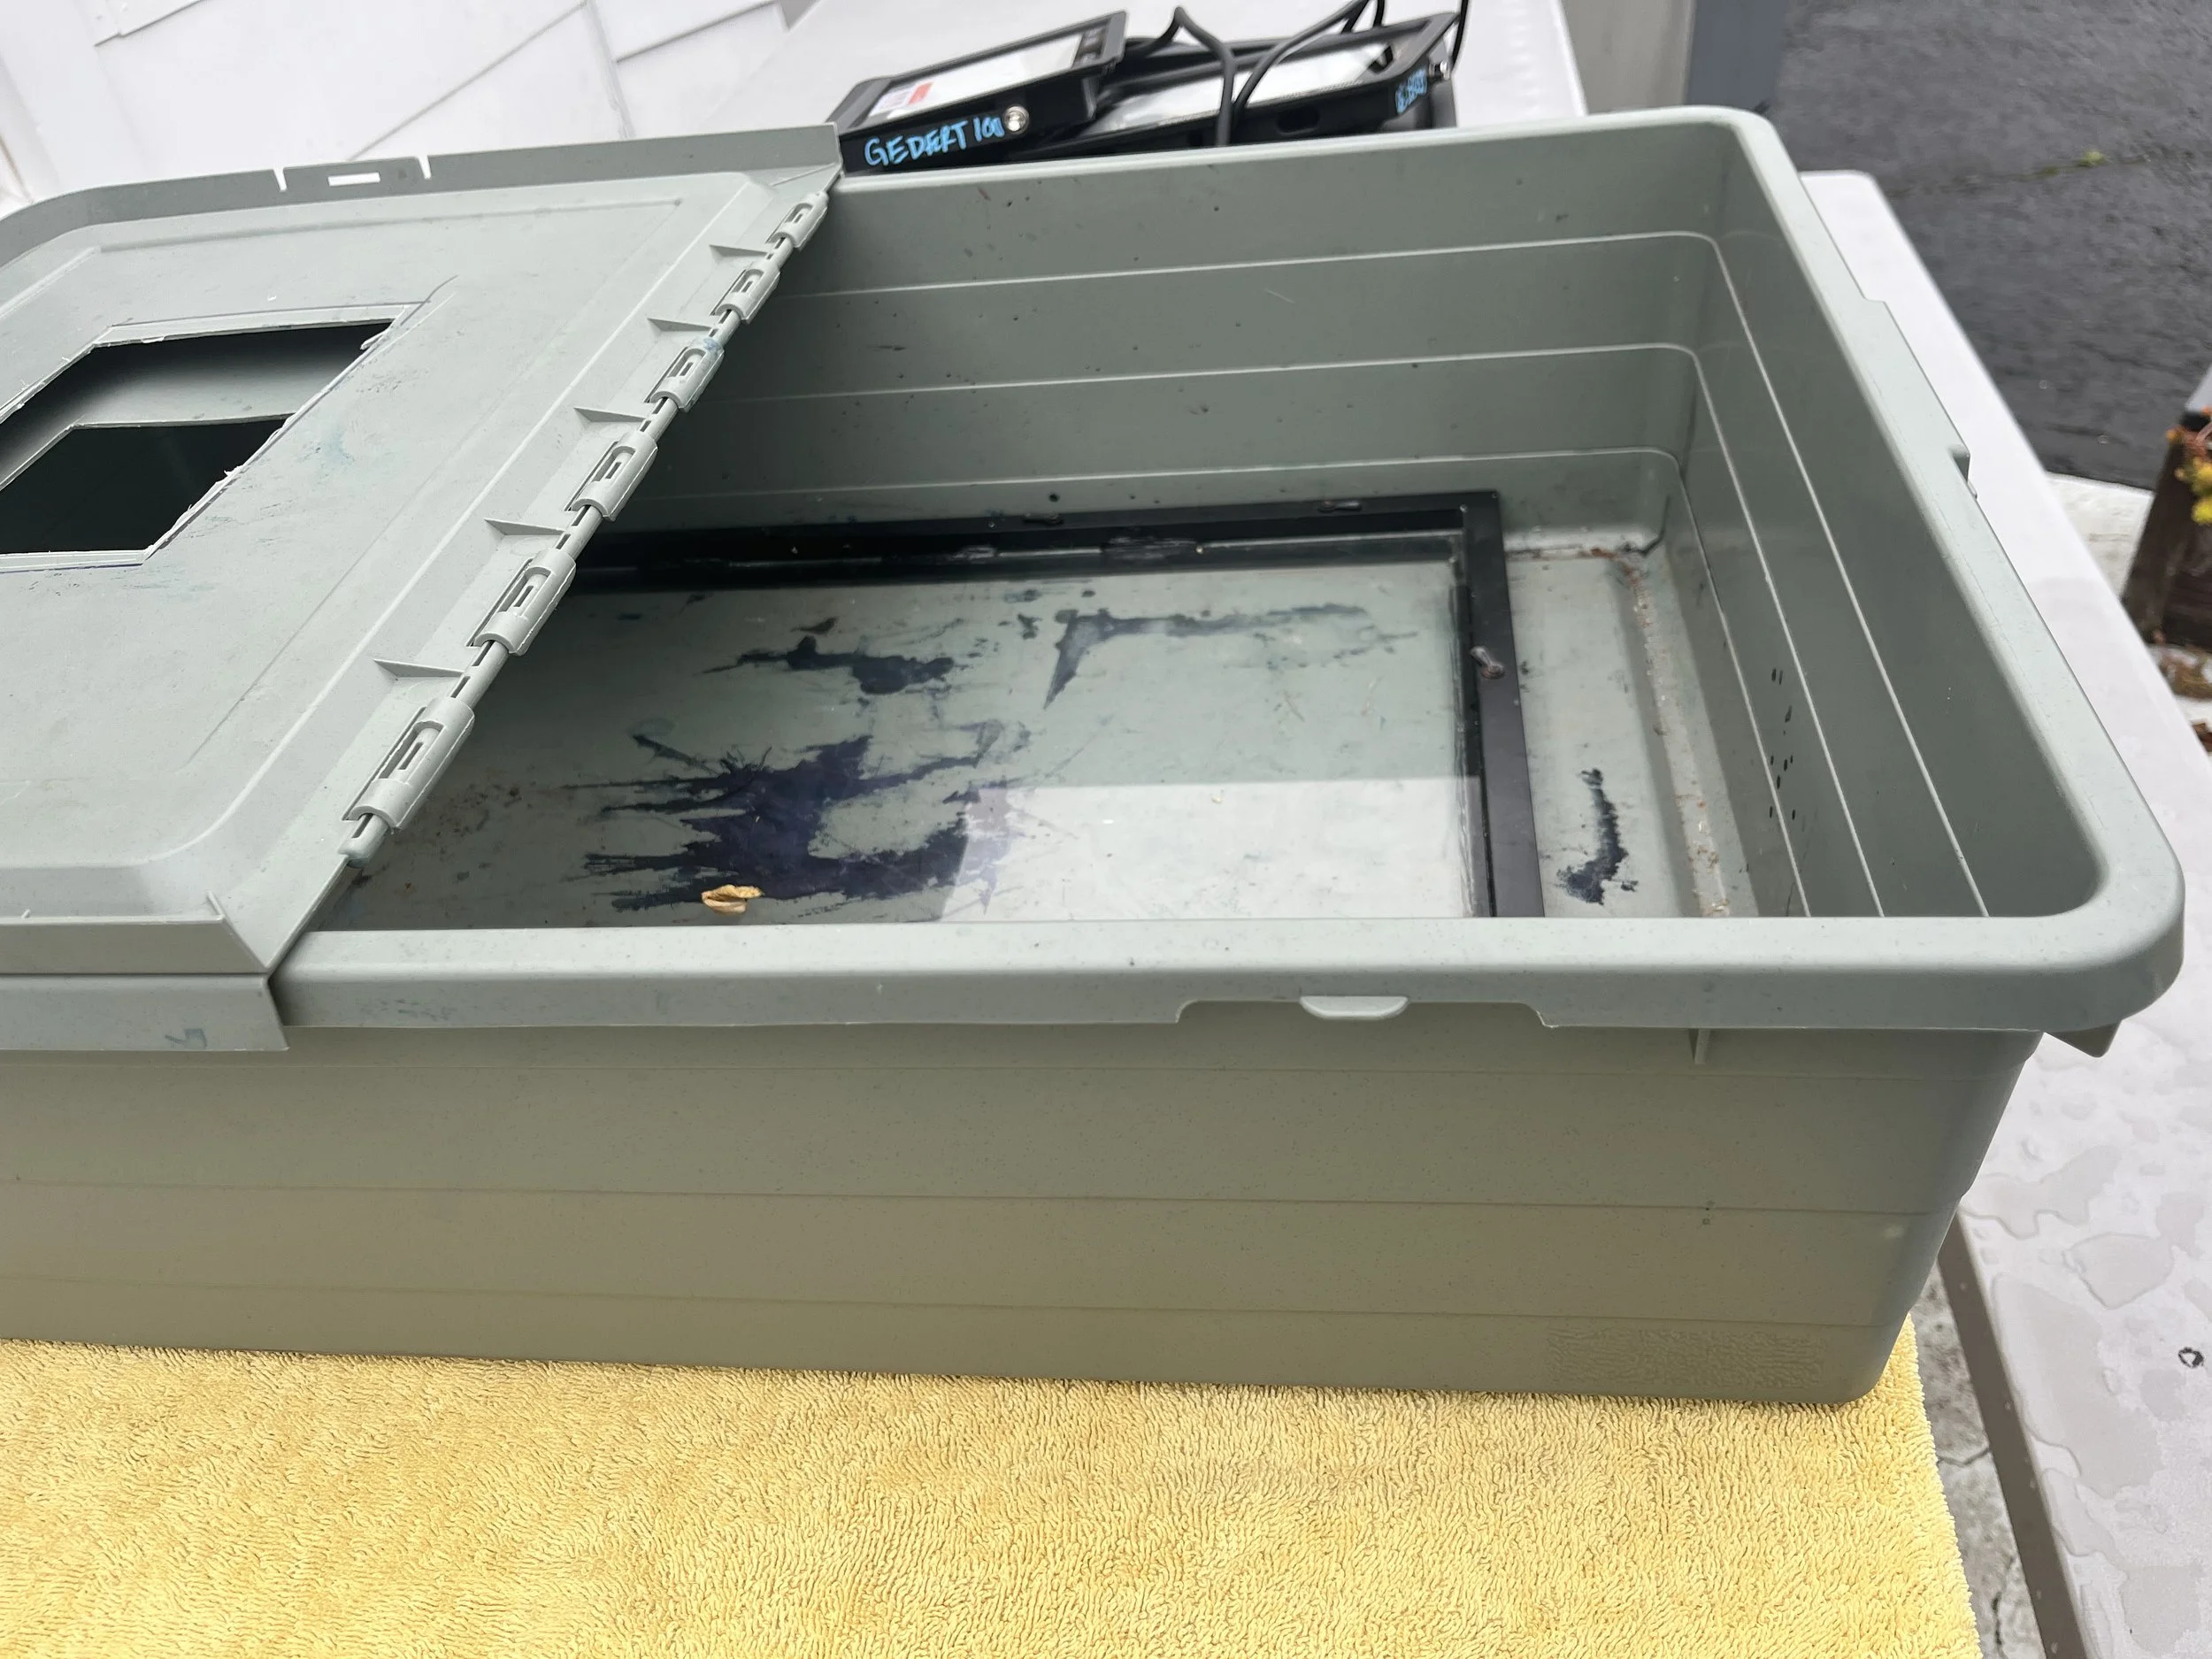
When you are looking for a box or storage bin to use, it needs to be a solid color, NOT clear. You want to avoid light leaks to avoid light loss while exposing your cyanotypes. The large Ikea Sockerbit can hold 4 8x10 frames (great for workshops) or up to 18x22(ish).
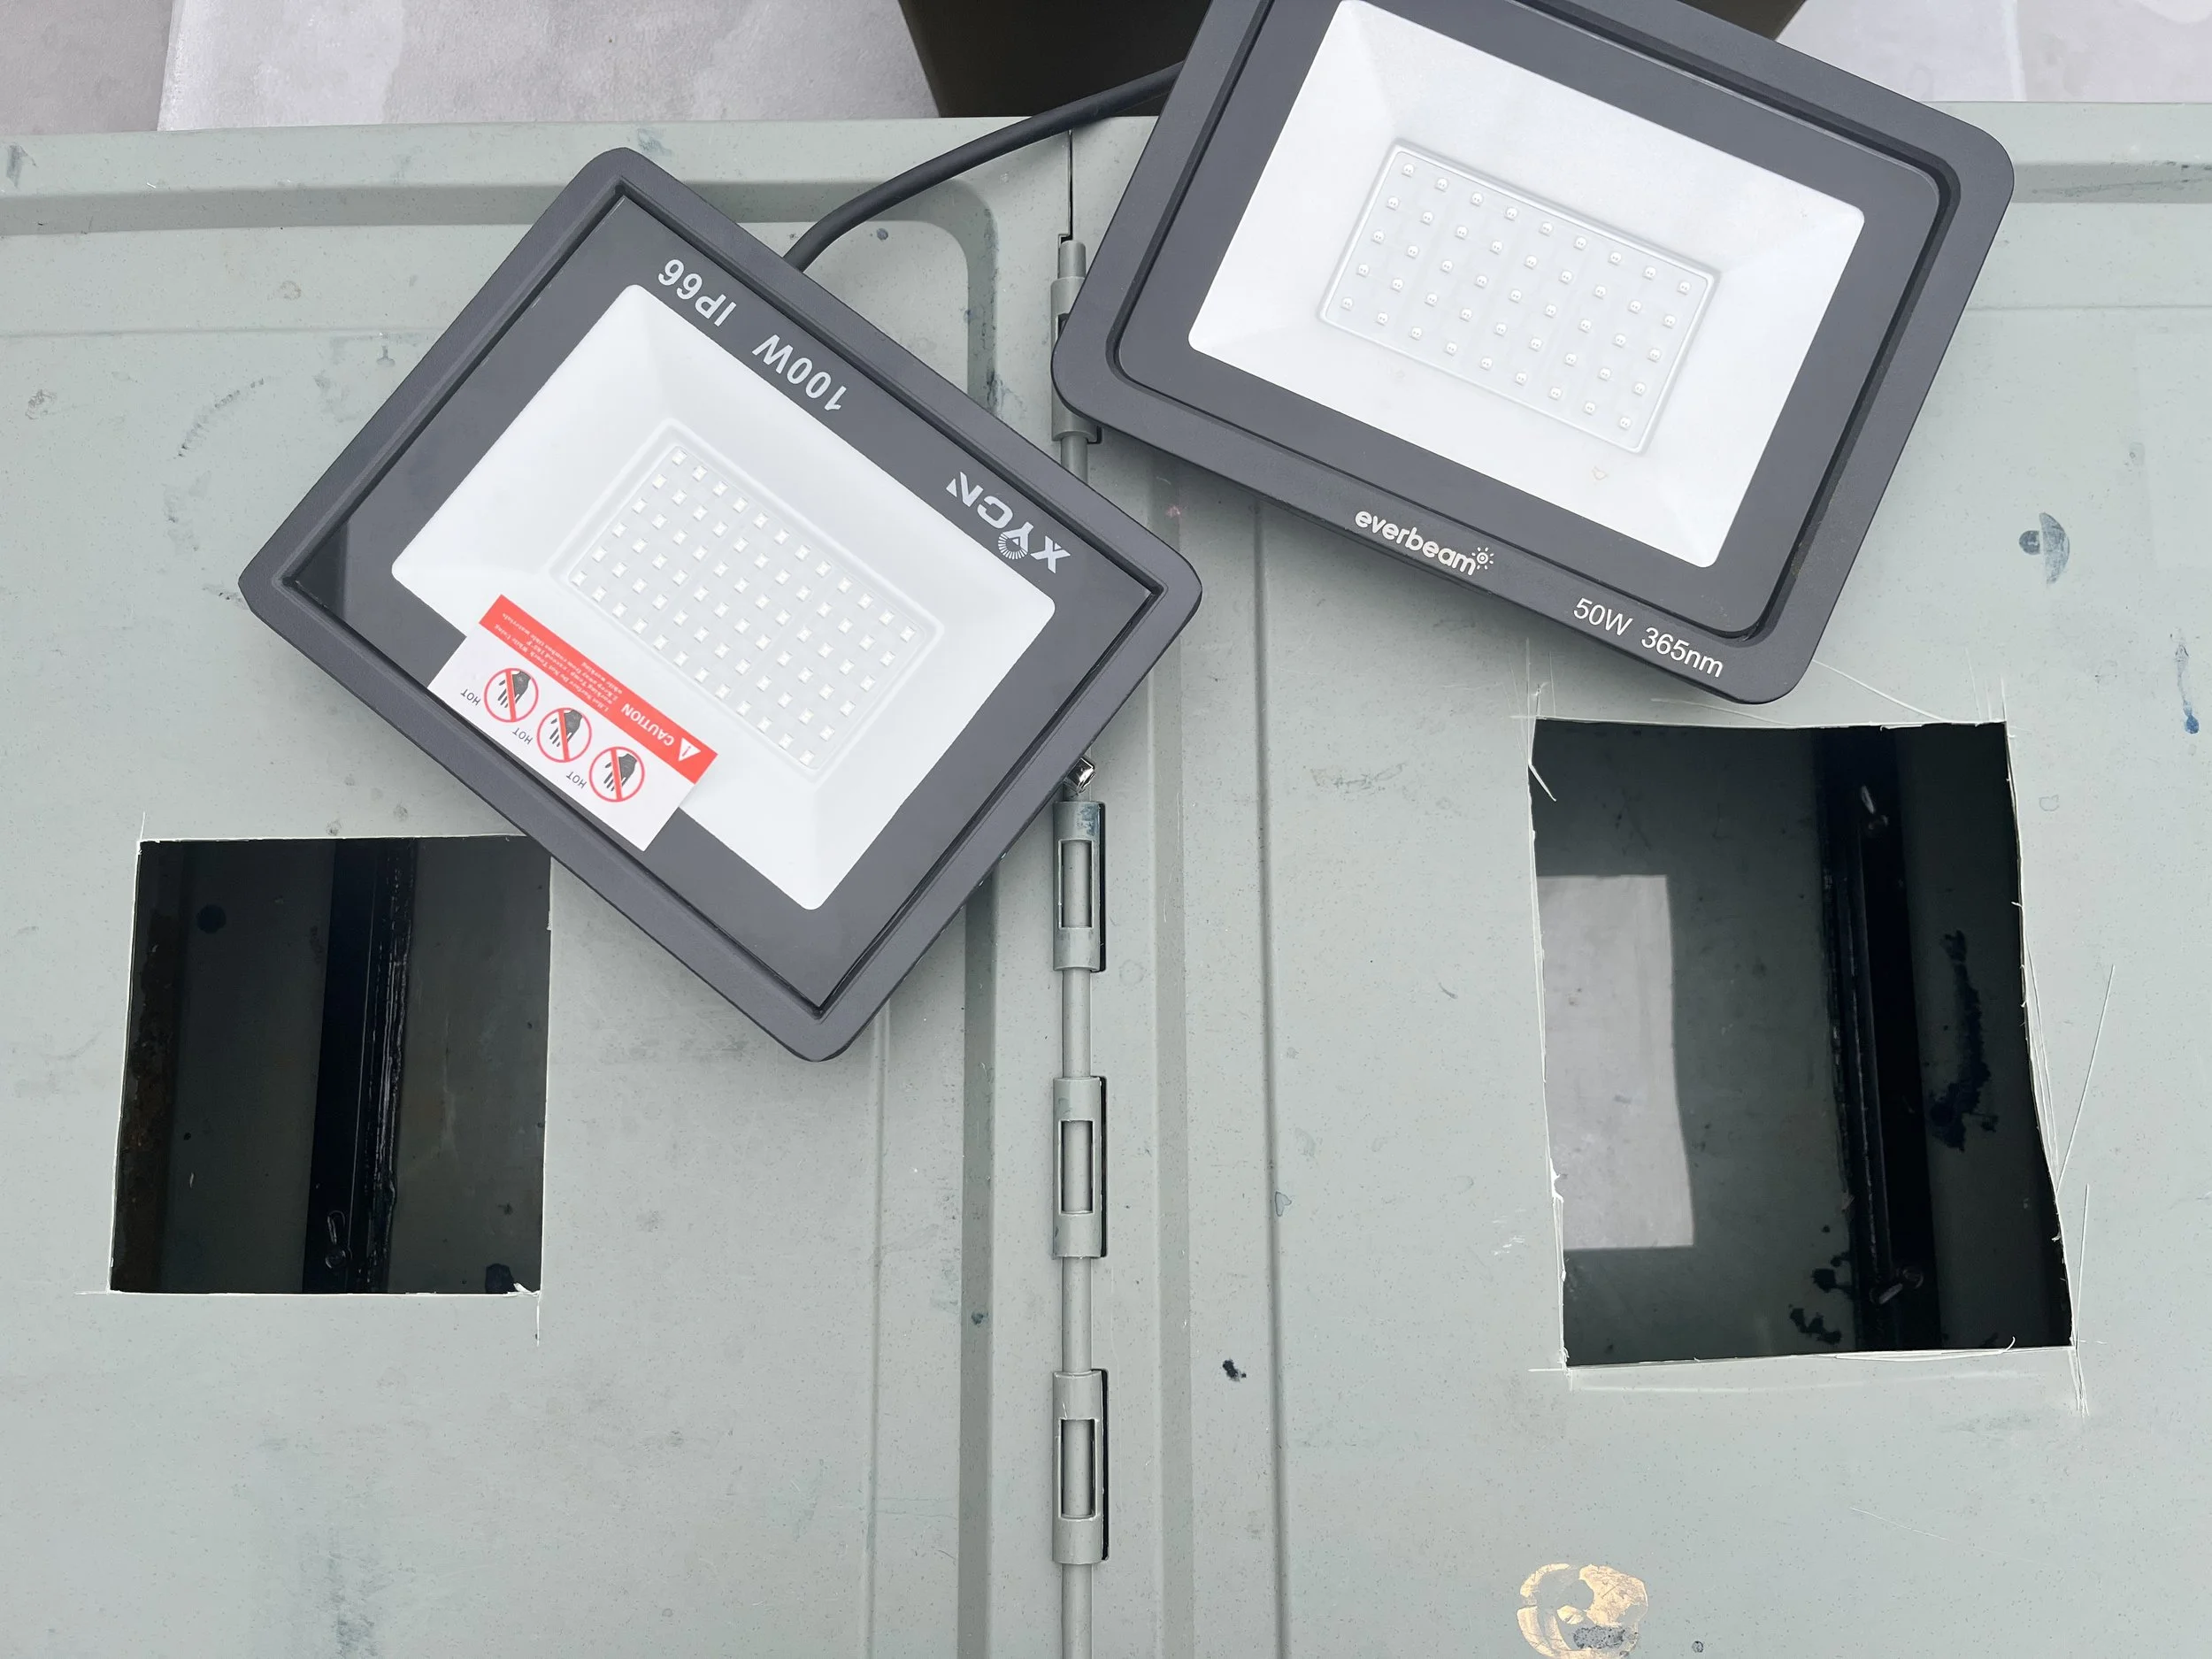
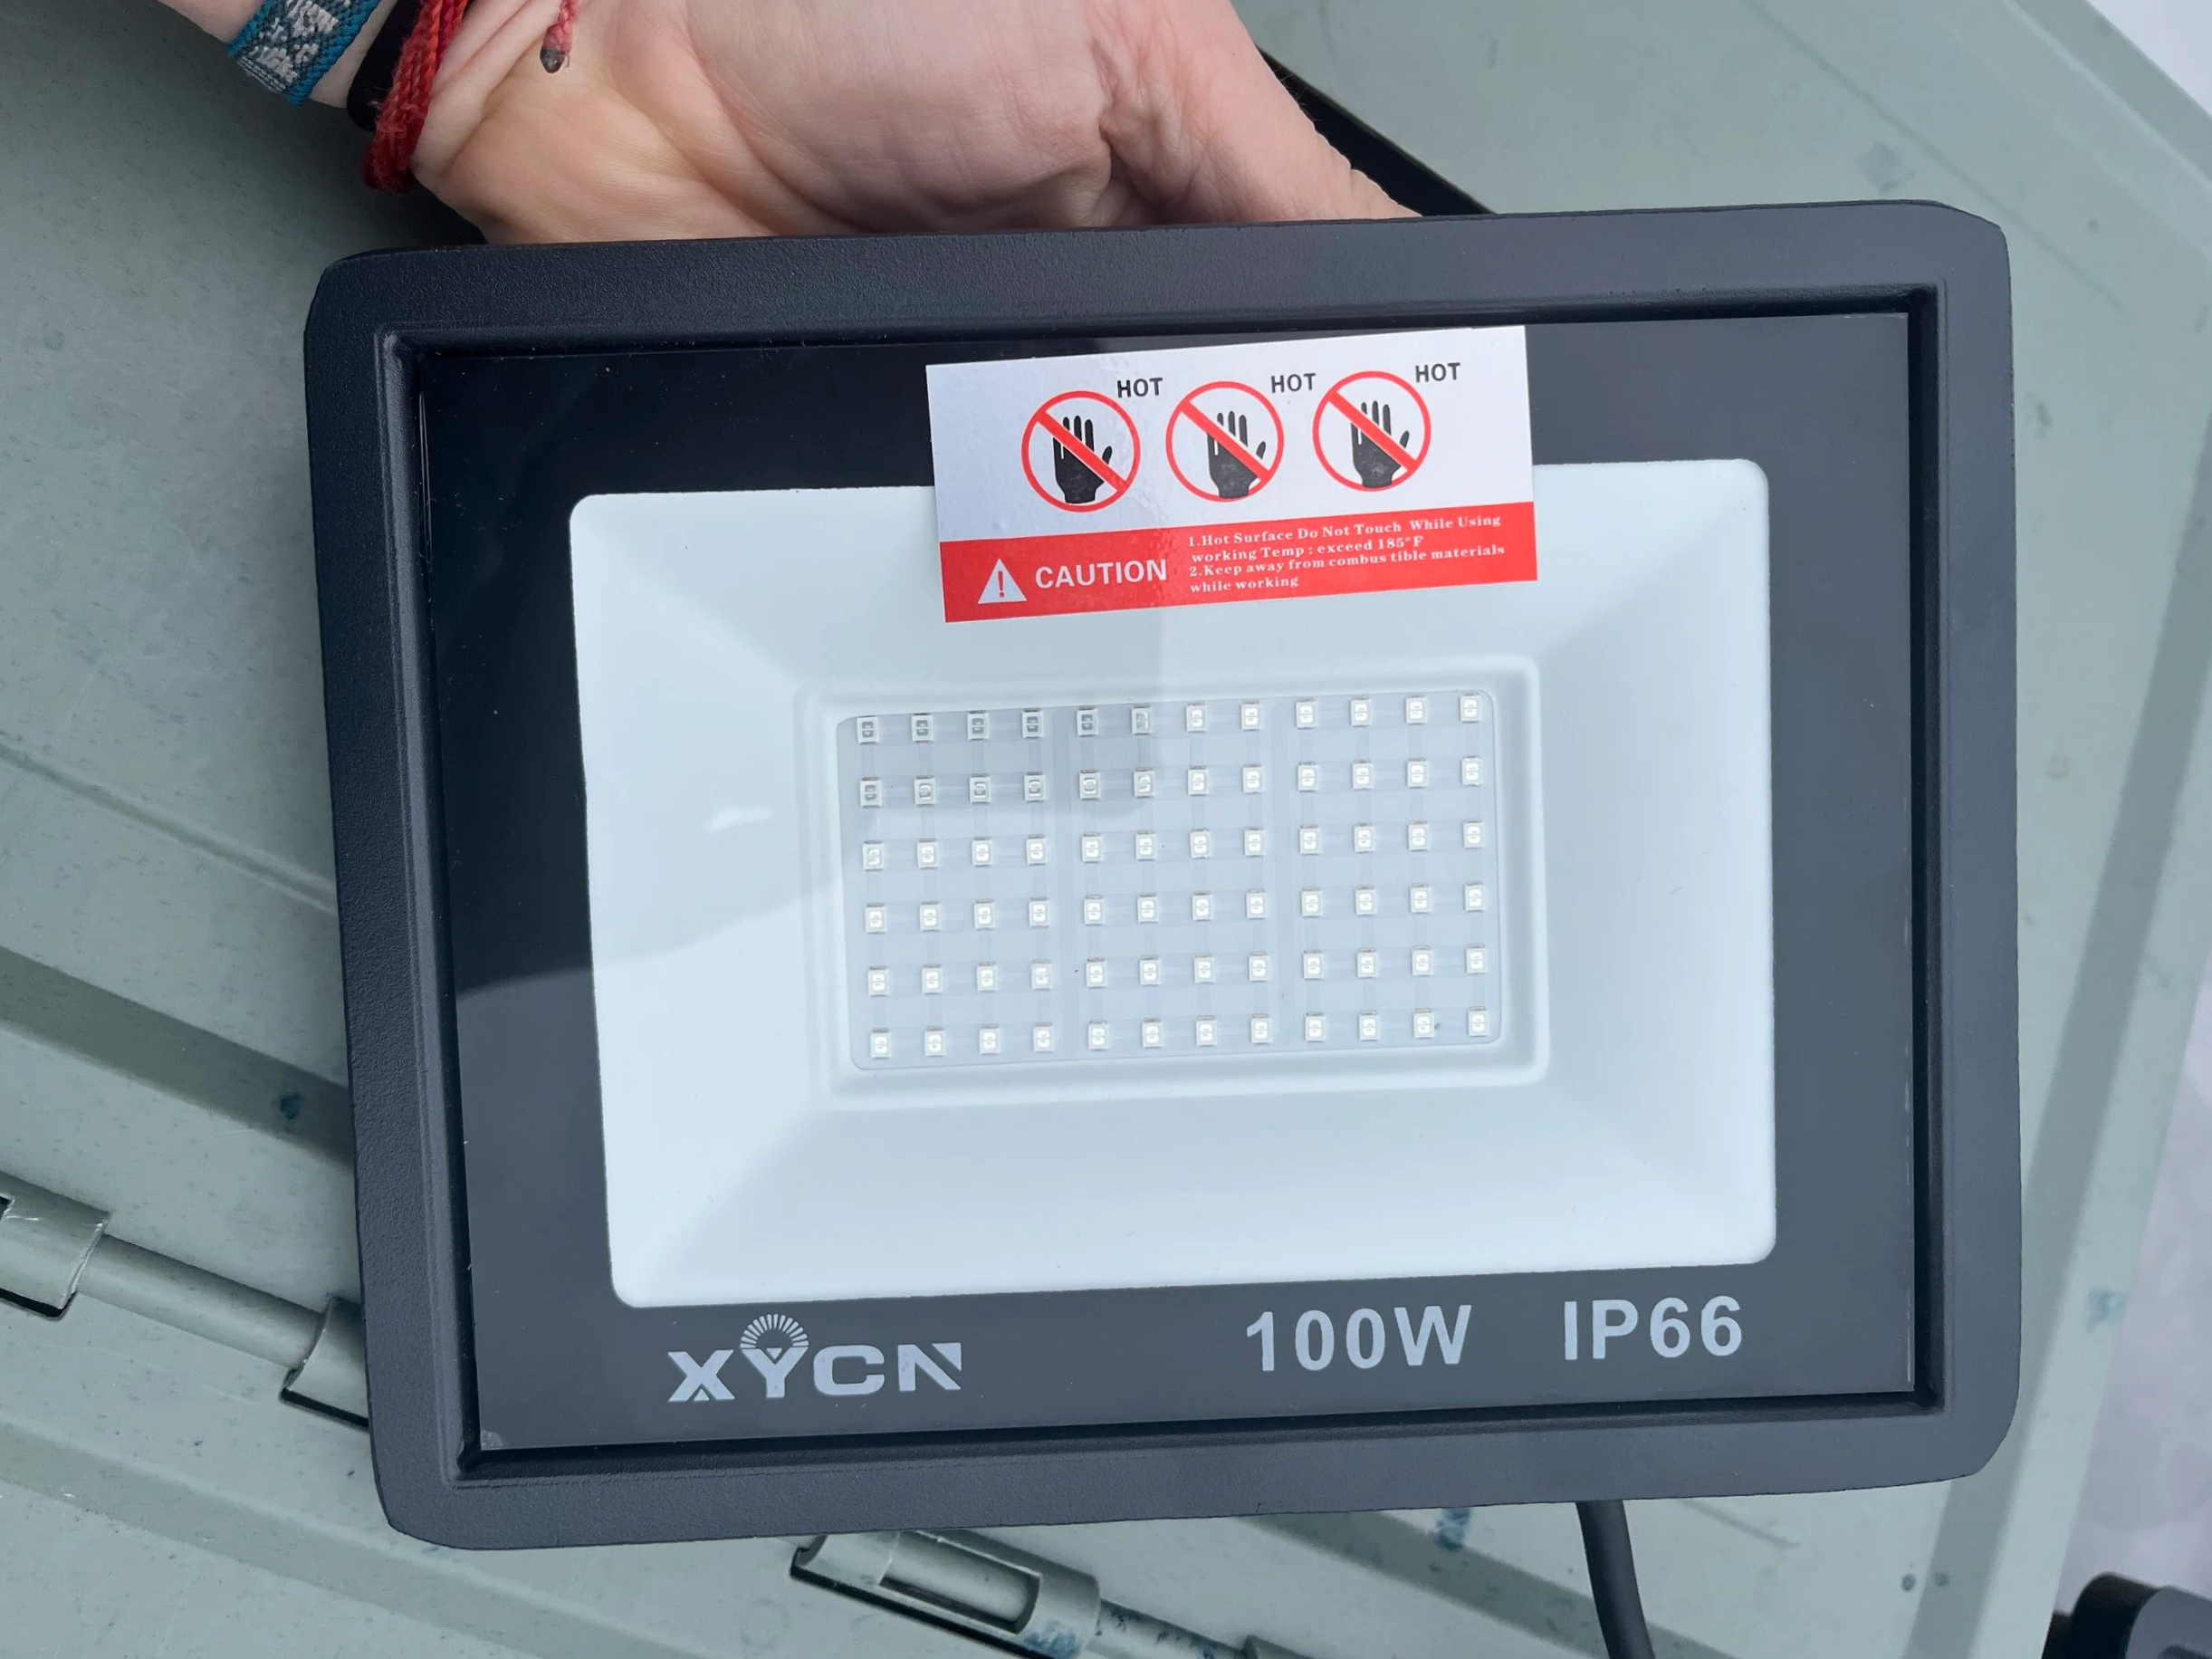
Pick your UV lights: You can choose from a few different wattages, but I typically use 50W or 100W. It’s important to keep the wattage the same on both sides when exposing a large print. For a 50W exposure, traditional cyanotypes in an 8x10 size can take anywhere from 4 to 11 minutes in this bin.
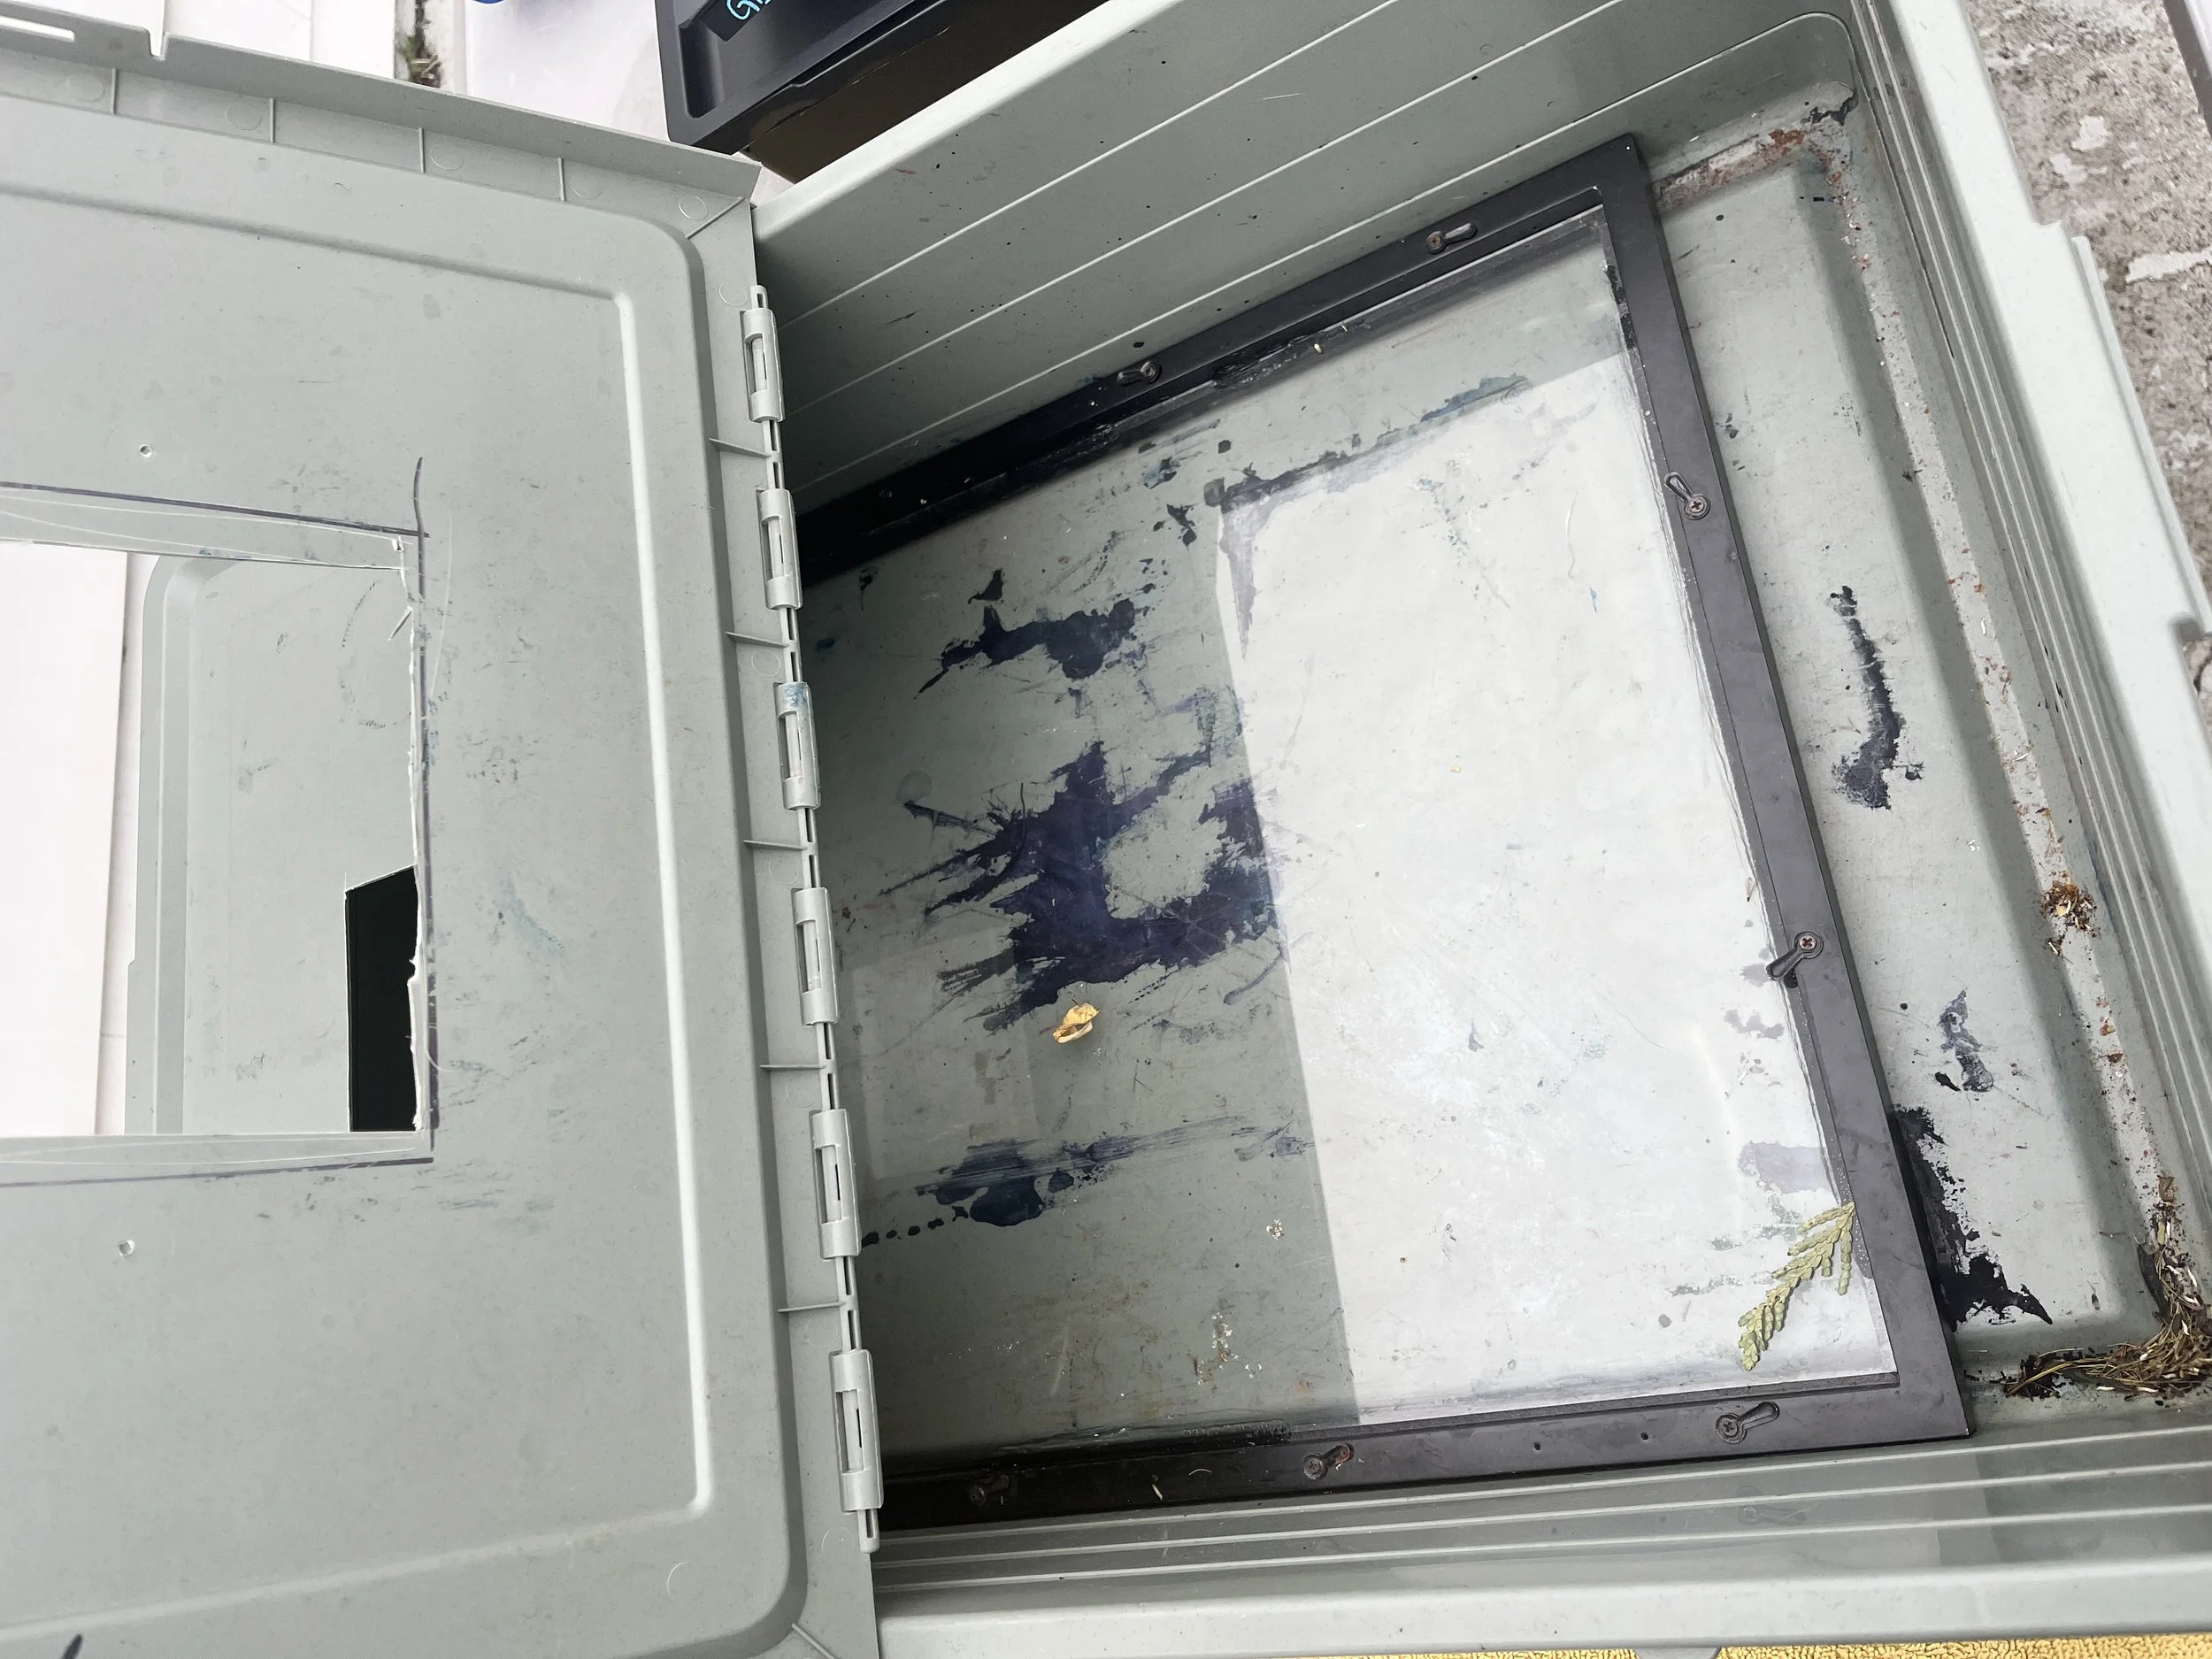
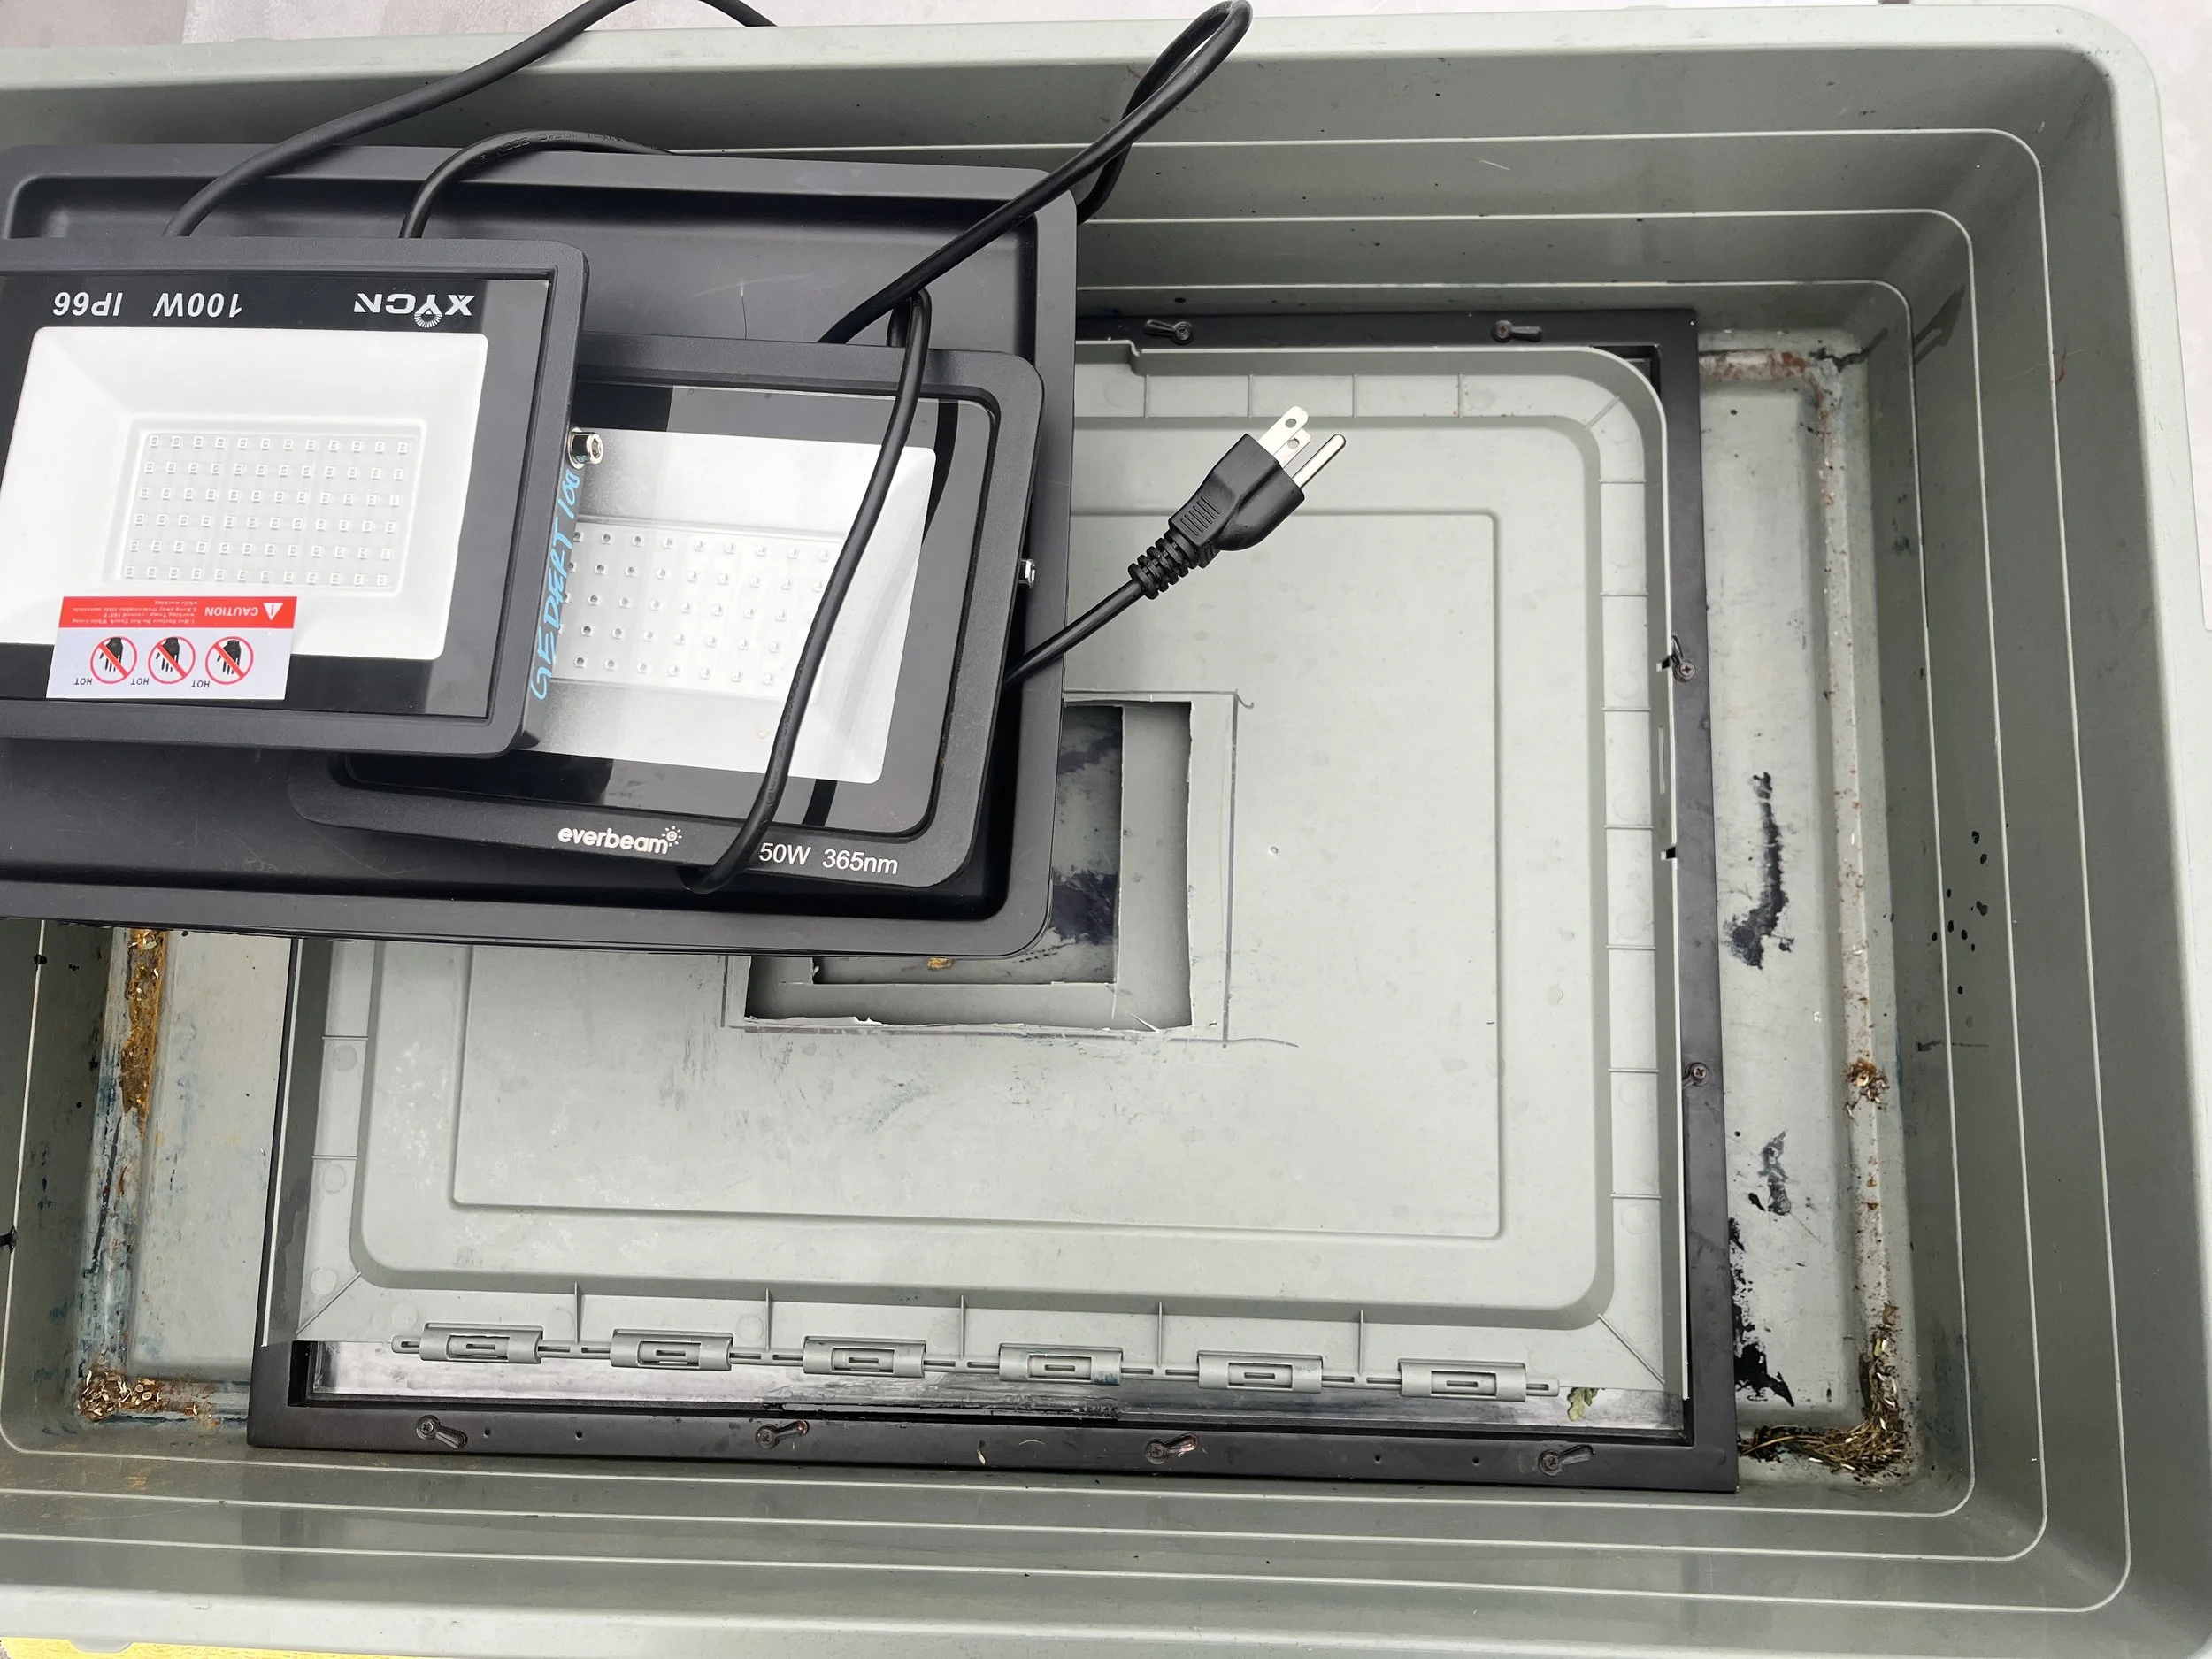
Cutting your lid: I measured a rectangle that is 1 inch smaller than my UV lights, marking it on the inside center of each side of the lid. Next, I used a blade to carefully cut along the marked lines on a self-healing cutting mat. Note: It is safer and more effective to make several lighter cuts rather than applying too much pressure for one deep cut.
(Note: Yes. in the photo mine are 2 different sizes - for now, I just updated my UV light on the left side and need to adjust the cuts.)
Measuring:
I cut for the size of the white space within my UV light. This way I would reduce light loss.
Pro Tip: Make sure your UV light has a on/off switch on the cord. Your outlets will thank me!
Thats it!
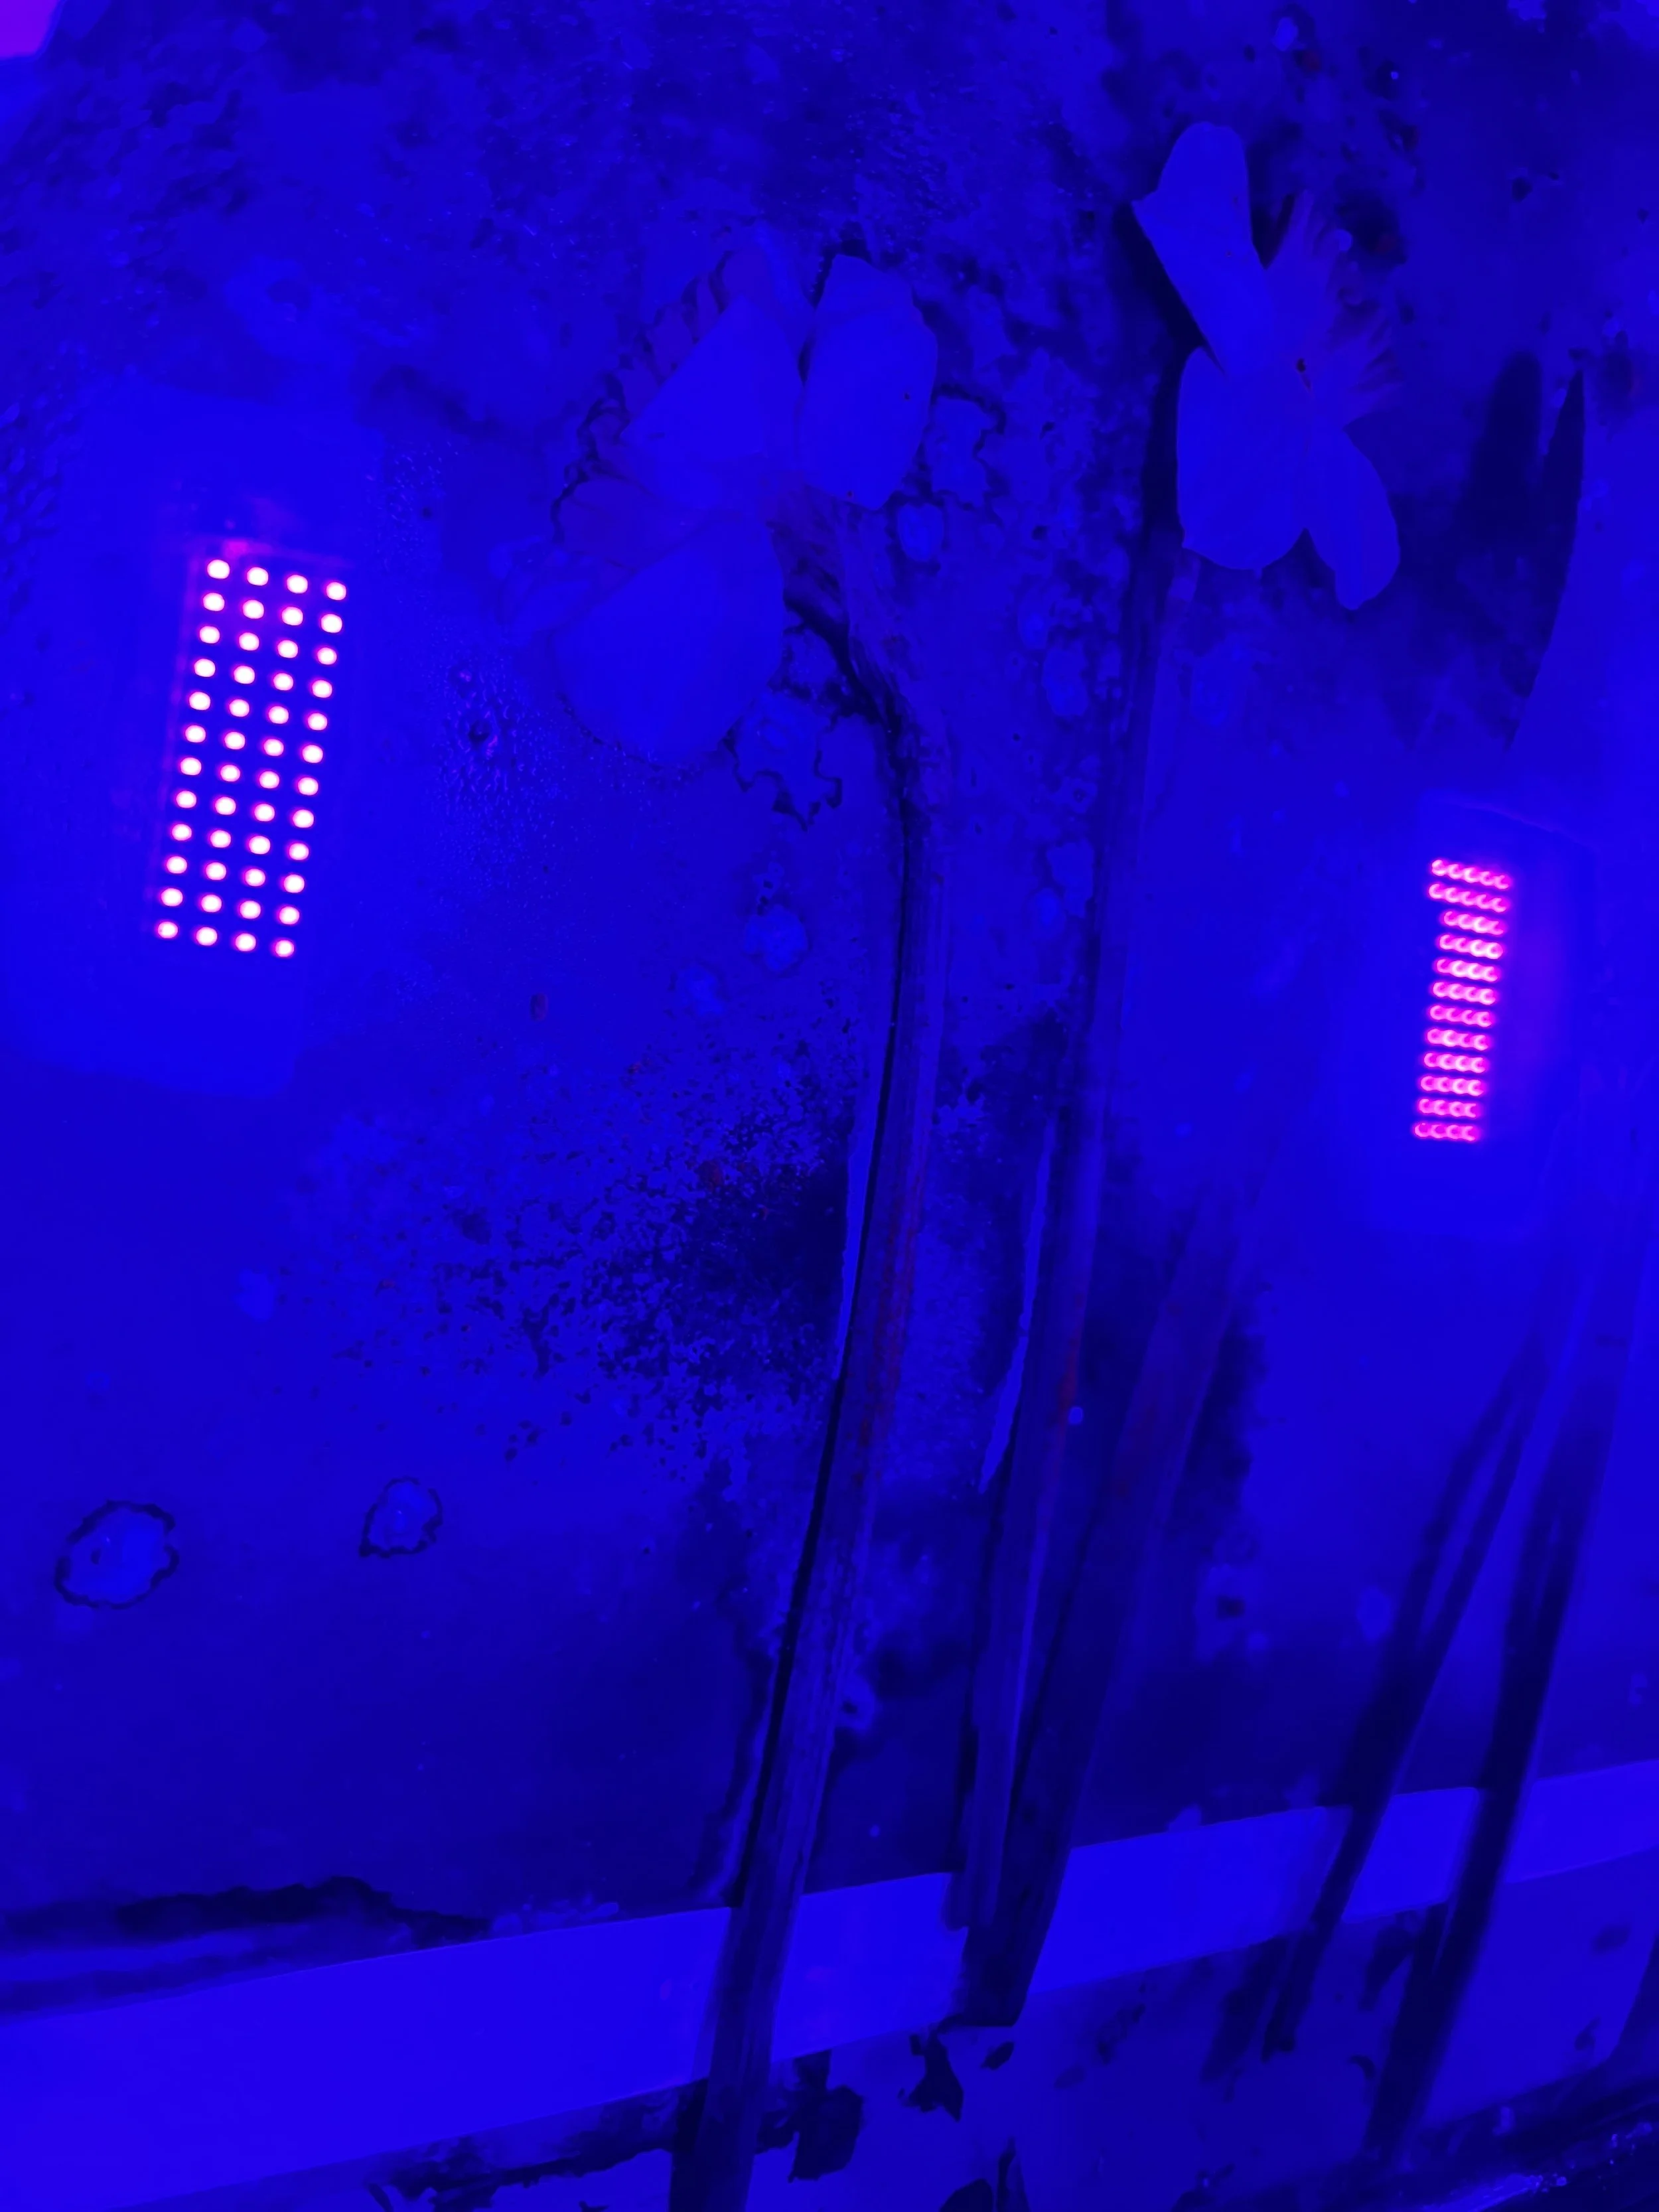
Now you can test your times and prints until your heart’s content! I tend to cover both sides even when only printing on one side.
Make it stand out
Storage: My favorite aspect of this setup is that I can easily break it down and stack it for storage. The system is lightweight, and the lid conveniently folds in half. I can wrap the lights tightly and store them in the bin, then stack my rinse bin on top.
Here is a list of supplies I used:
Ikea Large Bin SOCKERBIT
Go have fun!
Now it is time to experiment and see what settings and times work for you! This is the best part!
Hope that helps!
xo Kellie